In the first post in this series, I described creating a GitHub app using Probot and create-probot-app. In my previous post I walked through the default template and customised it to provide the functionality required for my auto-assign-issues bot. In this post, I show how I deployed my app to Glitch to run my app for free.
I'll point out now, that while deploying the app to Glitch was easy, I failed dismally trying to setup CI so that the app is deployed whenever I push a change to GitHub. In the end I gave up as I don't envisage needing to update the bot very often, and I can still sync the code from GitHub to Glitch easily, I just can't get it to happen automatically.
Signing up for Glitch
Glitch is a really interesting site that's designed to make it easy to get started building a project and to get help when you're stuck. Every project that's built on Glitch can be "remixed", which effectively means cloned into your own account. It's a great way to tinker with things and get started really quickly, as it's a whole IDE in the browser.
For my purposes here, Glitch is a way for me to run the GitHub bot for free without much ceremony. It's one of the suggested approaches in the Probot docs so I thought I'd give it a go.
The first step is to sign up for Glitch. Head over to https://glitch.com, and click Sign in in the top right:
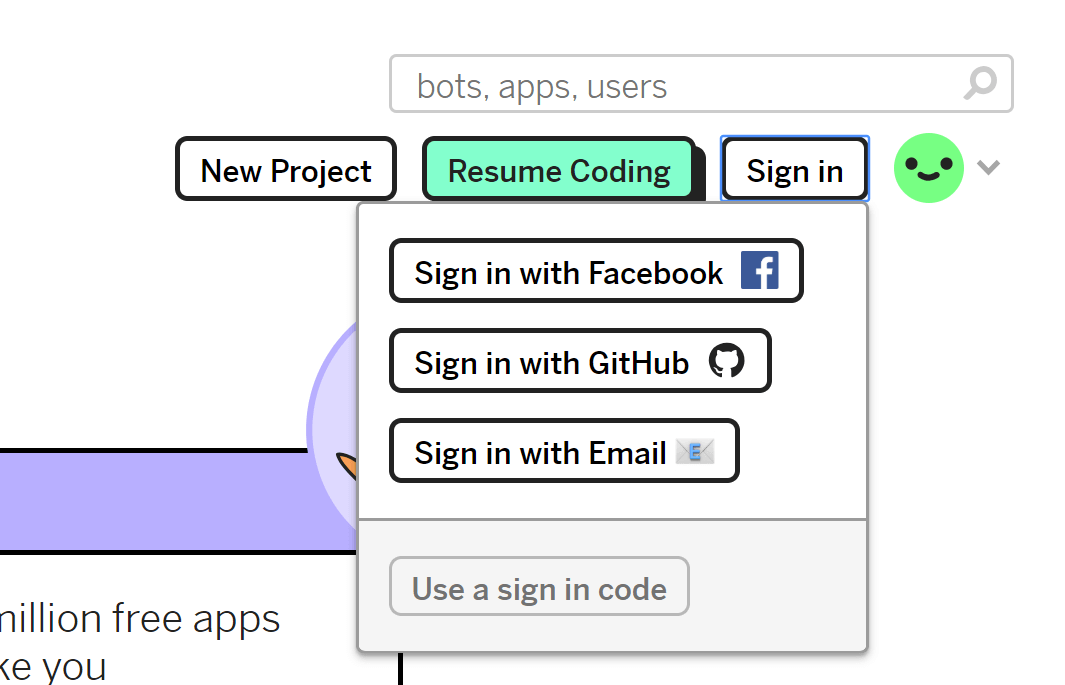
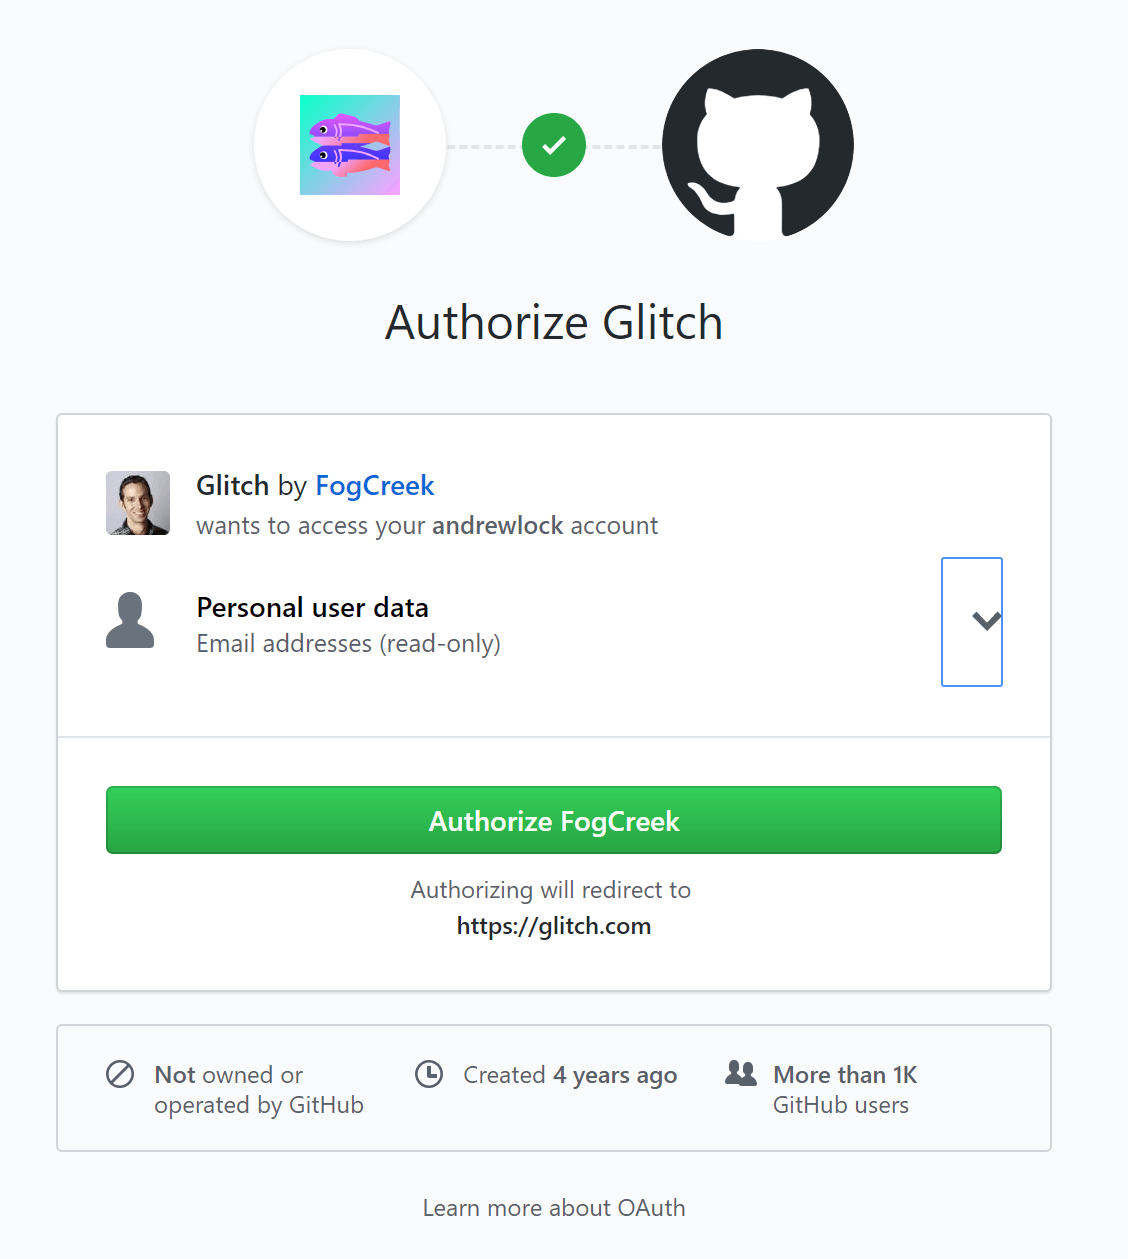
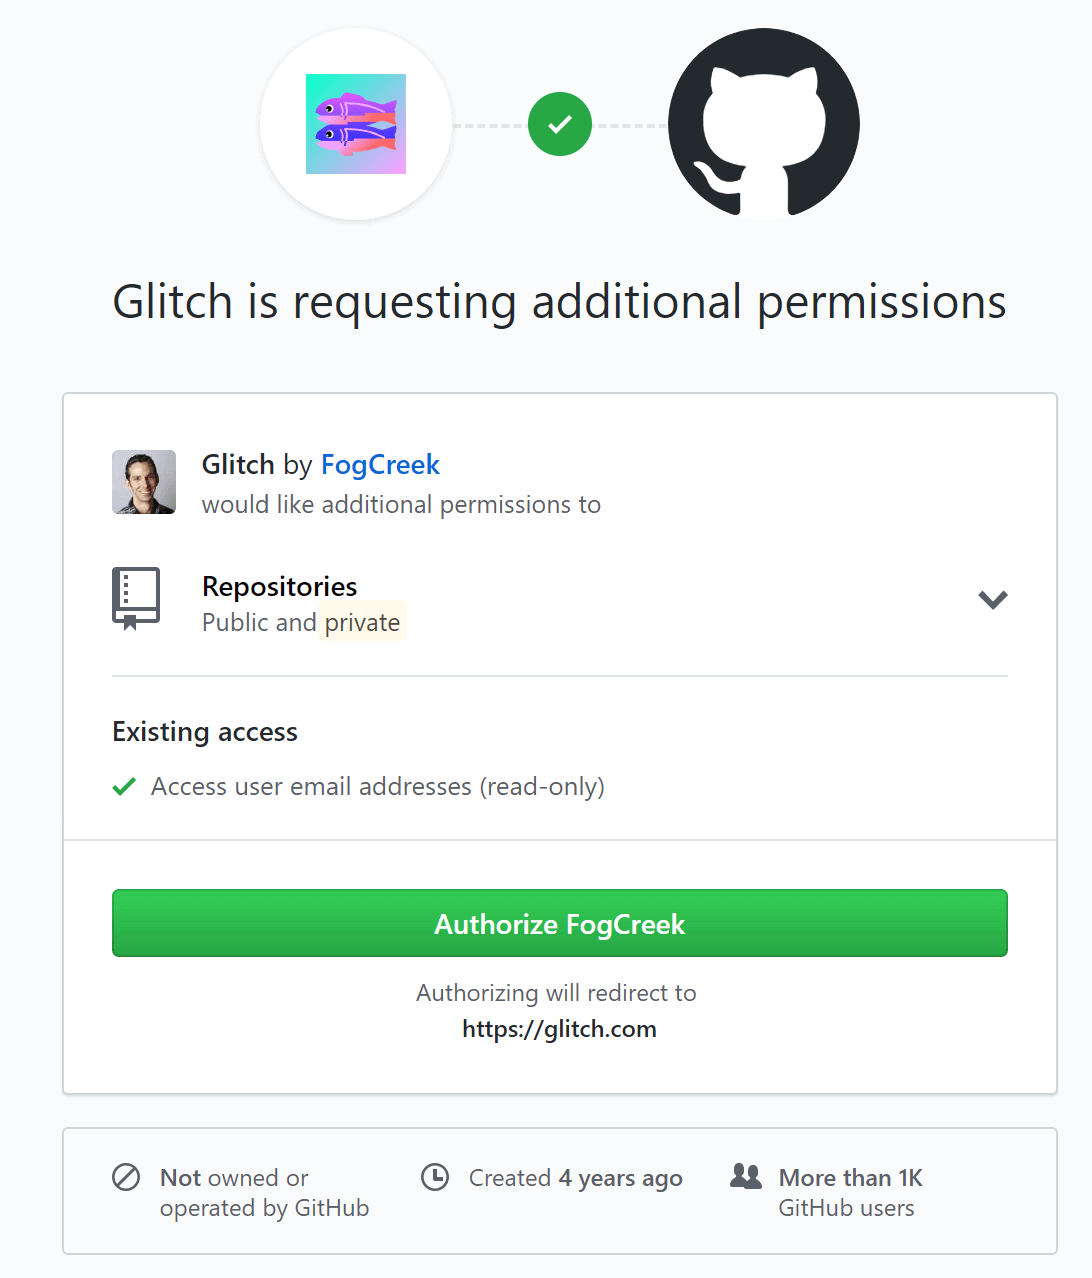
I chose to Sign in with GitHub as I'm going to be importing code from GitHub anyway. If you take this approach you'll get the standard authorization screen
And that's it, you're now signed in to Glitch.
Creating a project on Glitch and importing from GitHub
Now you're signed in, you can create a new project. Click the New Project button and choose any of the sample projects - we're going to be replacing the project with the content from your GitHub repository shortly anyway.
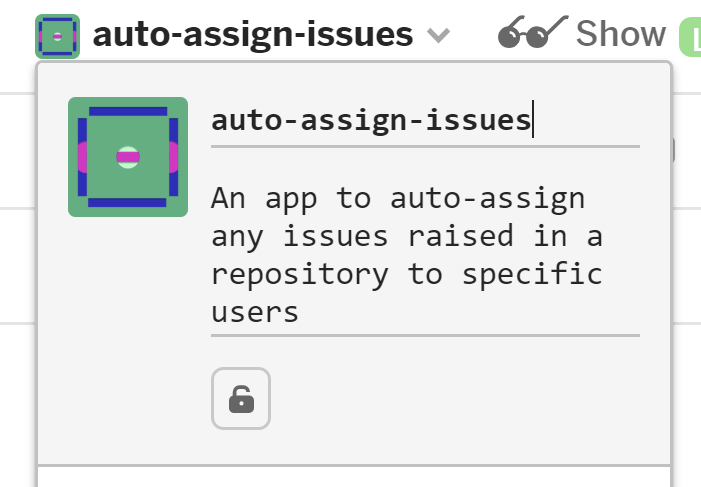
After a short delay, Glitch will create you a new project, and assign it a random name (I got near-pedestrian-1). Click the project name in the top left hand corner, and edit the name and description to something a bit more descriptive:
Now we're going to import the code for our Probot app from GitHub into Glitch. In the same menu (after clicking the project name) choose Advanced Options near the bottom, and then Import from GitHub:

At this point you'll get another authorization request for your GitHub account. The first time was just for authentication, so only provided Glitch access to your email address. This time Glitch needs to access your repositories so it can import your app code:
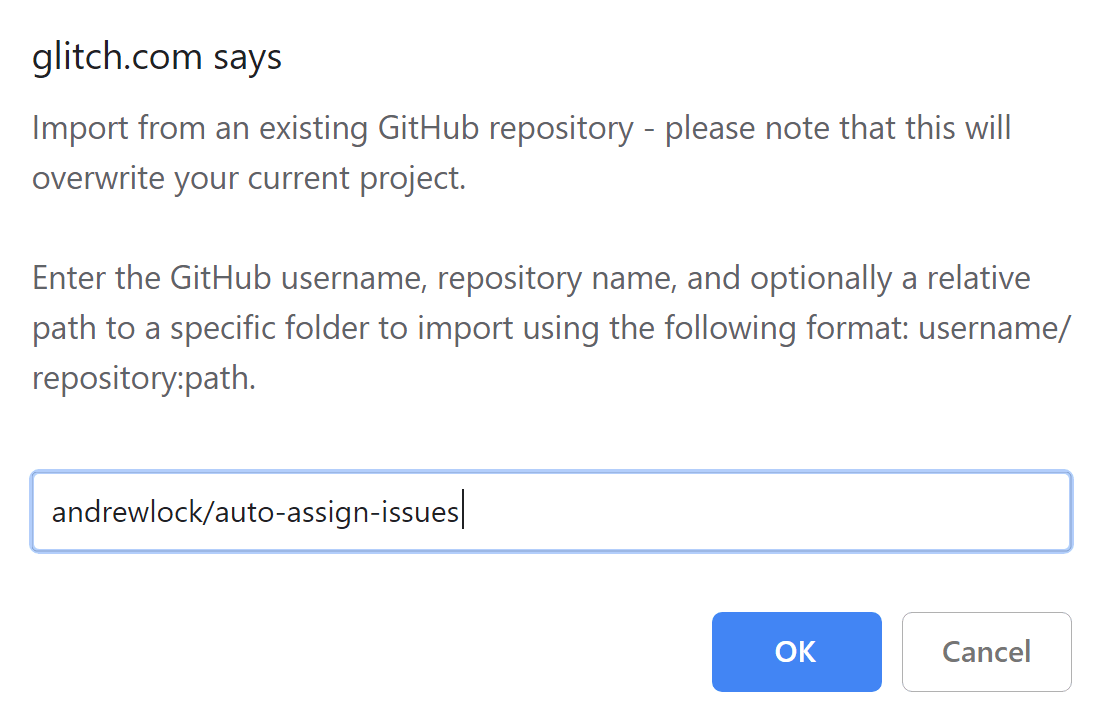
After providing authorization, Glitch will pop up a notification asking you to provide the path to the GitHub repository it should import. This is the name of the repository including the owner, so for https://github.com/andrewlock/auto-assign-issues you would enter andrewlock/auto-assign-issues
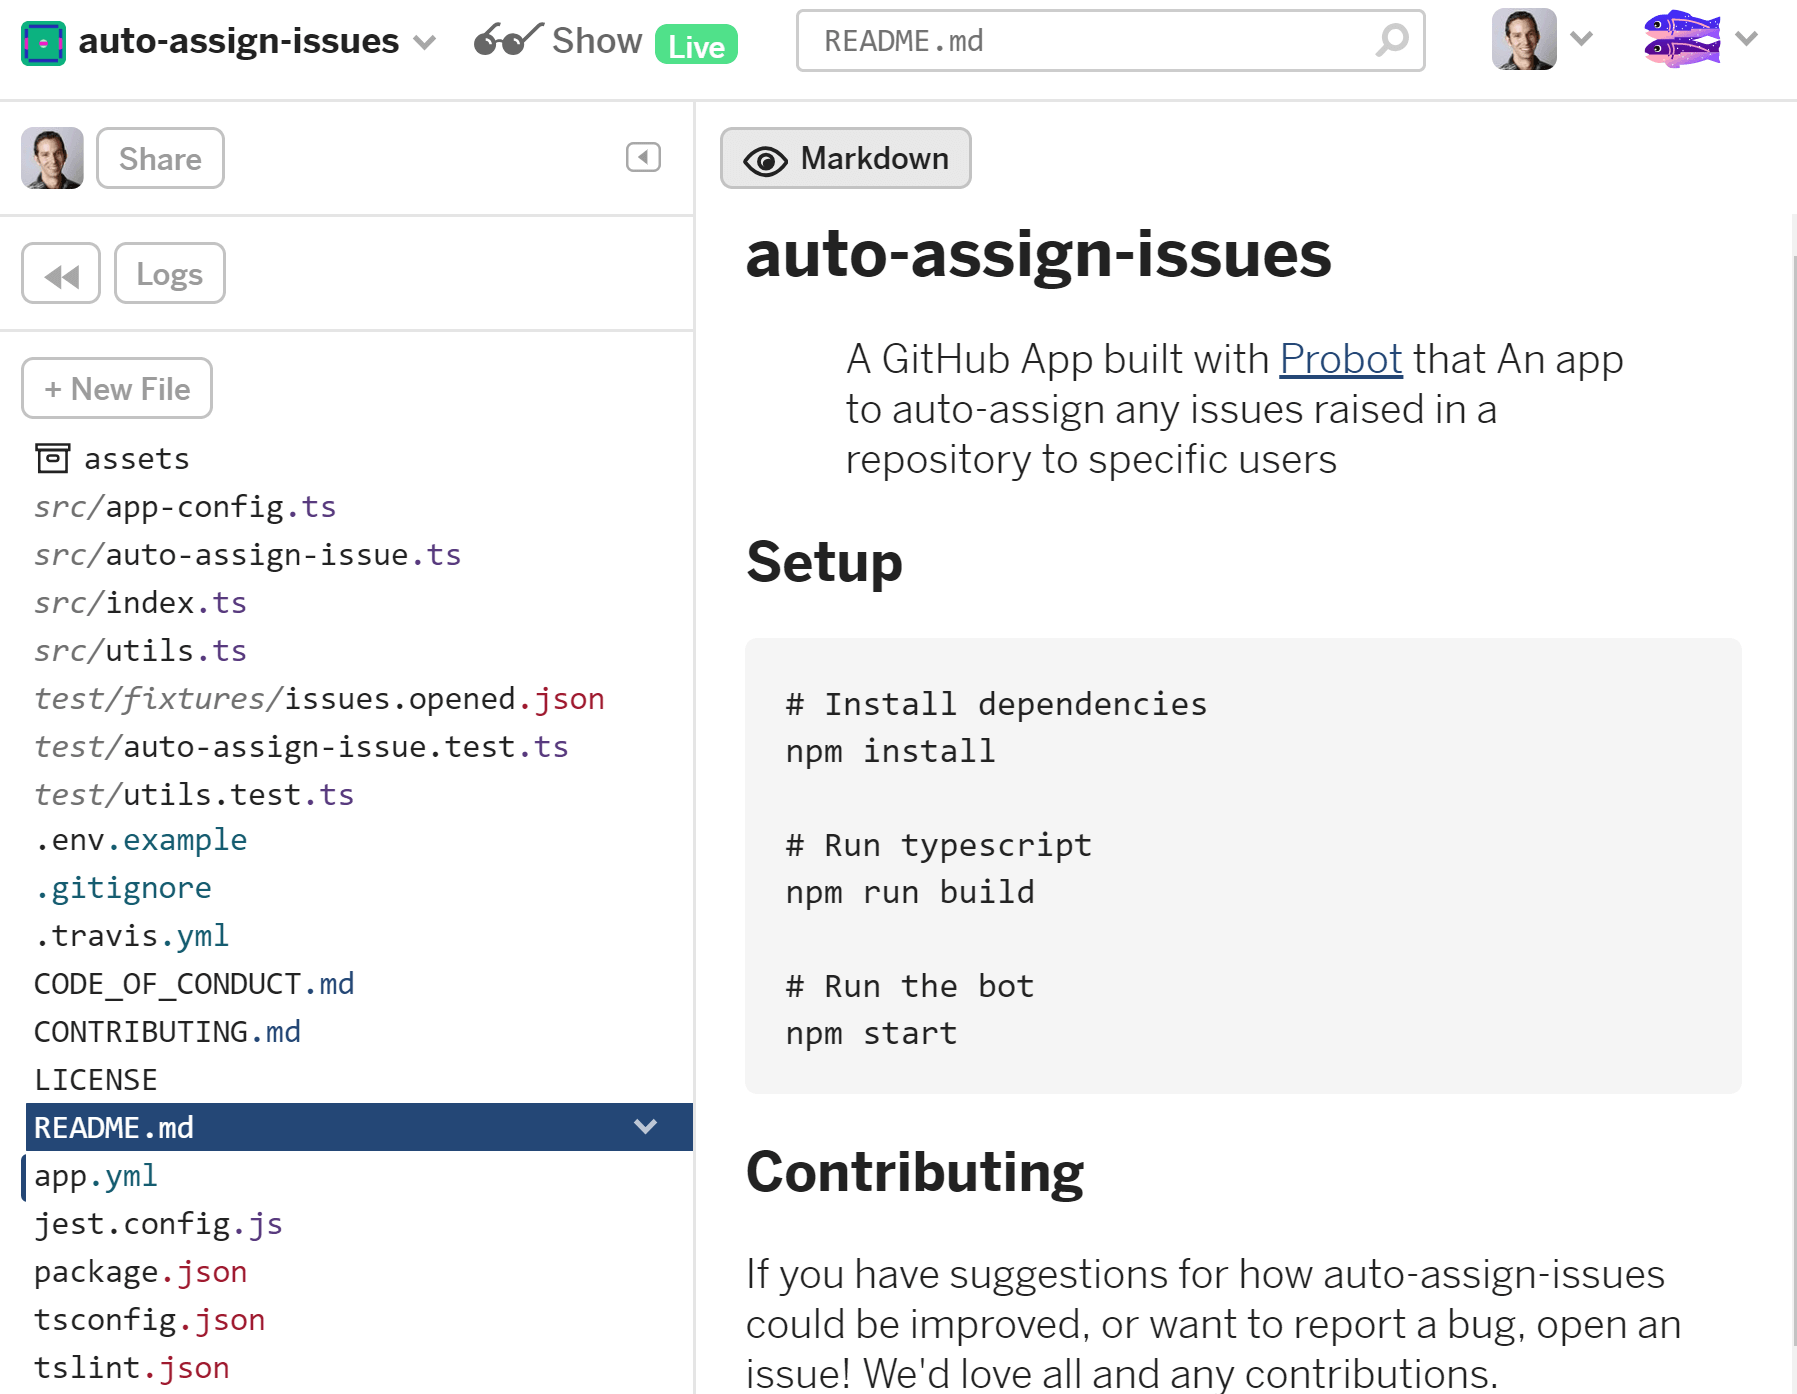
After a short while, Glitch will import everything from your GitHub repository, and you can see, edit and explore your code in the online editor. Be aware though, if you import the code from GitHub into the same project again, all of your changes will be lost.
Configuring your app in Glitch
At this point, your code has been imported but you're missing one key ingredient - the .env file containing the secrets for your app. As I said in part 1 of this series, you should never commit this file to your repository.
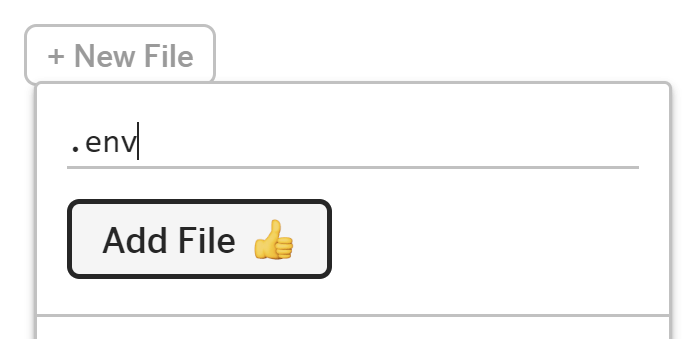
Instead, create the .env file manually in your Glitch project. Click the + New File button above your directory listing, enter the name .env and click Add File
You'll see that the .env file has a little lock symbol next to it, indicating that it's safe to store secrets in this file. Also, Glitch won't overwrite the .env file when you re-import your GitHub repo into your Glitch project.
Paste the following into your .env file, we'll fill in the gaps shortly
APP_ID=
Webhook_SECRET=
PRIVATE_KEY=
NODE_ENV=production
If you've been following along, you'll already have registered your app with GitHub when testing locally as I described in part 1 of this series. That means you can use the same App ID, Webhook secret, and private key that Probot setup for you automatically and saved into the .env file in your local environment.
Copy the values from your local .env file into your Glitch .env file. Note that you don't want to copy the Webhook_PROXY_URL line, and you want to add the extra line NODE_ENV=production in your Glitch .env file.
It's worth noting that the Probot docs on deploying to Glitch use
PRIVATE_KEY_PATHinstead ofPRIVATE_KEYand store the data in a file:.data/private-key.pem. The problem with this is that the.data/private-key.pemfile is overwritten if you re-import your app from GitHub. As far as I can see, the .env approach is just as safe, and doesn't get clobbered by re-importing from GitHub.
Testing your app
Once you have everything in place, Glitch should build your app in the background and set it live. You should see a little green "Live" badge next to the Show button at the top left of your screen. Clicking this should take you to the Probot "Getting Started" page for your app. For the auto-assign-issues project, the URL is https://auto-assign-issues.glitch.me/probot:
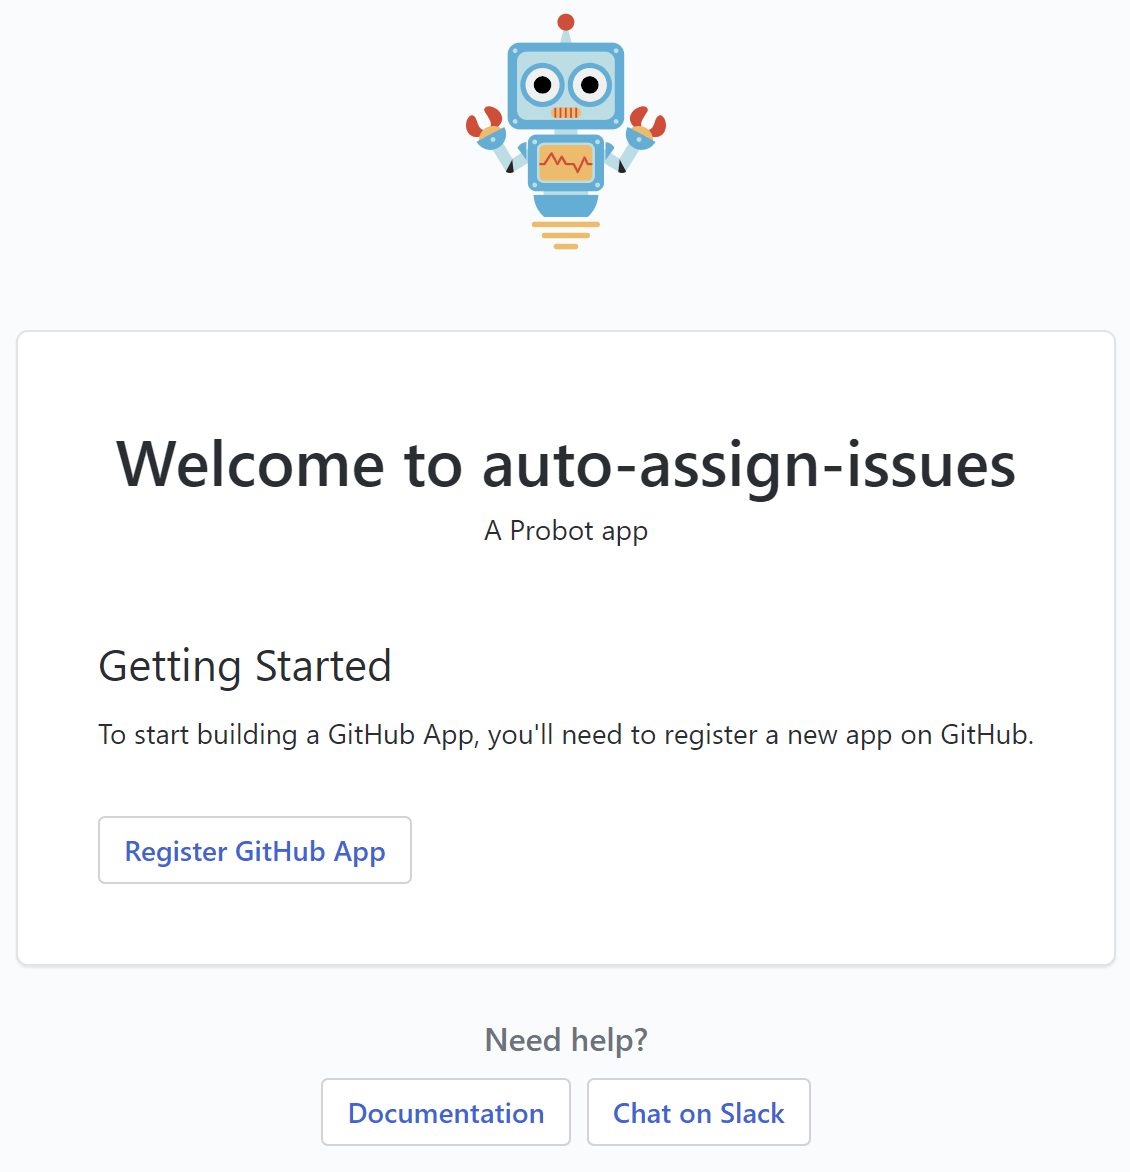
We've already registered the app (back when it was running locally) so you don't need to click the "Register GitHub App" button. Instead, we'll change the https://smee.io URL associated with the existing app registration to your Glitch app.
On one occasion, Glitch didn't build my app for me automatically. If that happens for you, you can click Logs and then Console to open a bash terminal in your app's container. You can then run
npm buildto explicitly build your app.
Updating the Webhook URL
The last thing we need to do to get the bot running properly is to update the Webhook URL associated with it, so Webhook events raised by GitHub are sent to the Glitch app, instead of to the https://smee.io URL and to our locally running app.
To edit the URL, login to GitHub, click your Avatar, and choose Settings, Developer Settings (at the bottom of the page), GitHub apps, select your app, and click Edit on your app.
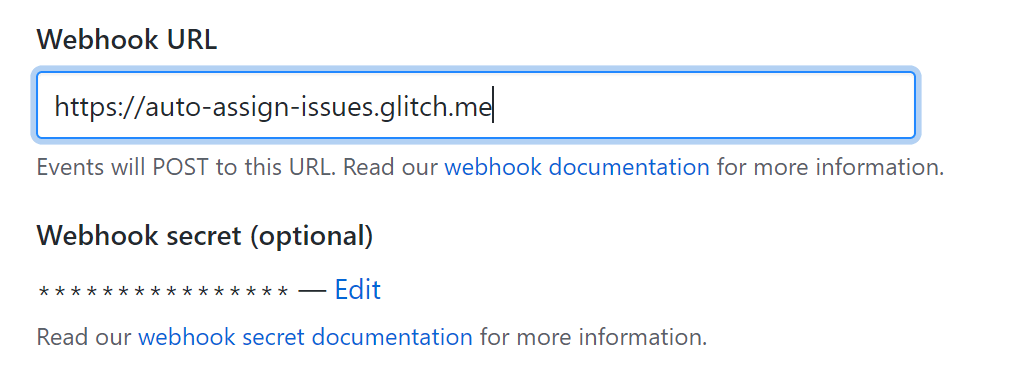
Scroll down until you get to the Webhook URL section and replace the existing https://smee.io URL with your the Glitch URL of your app, for example https://auto-assign-issues.glitch.me.
Make sure you don't include the
/probotpath, only use the bare domain.
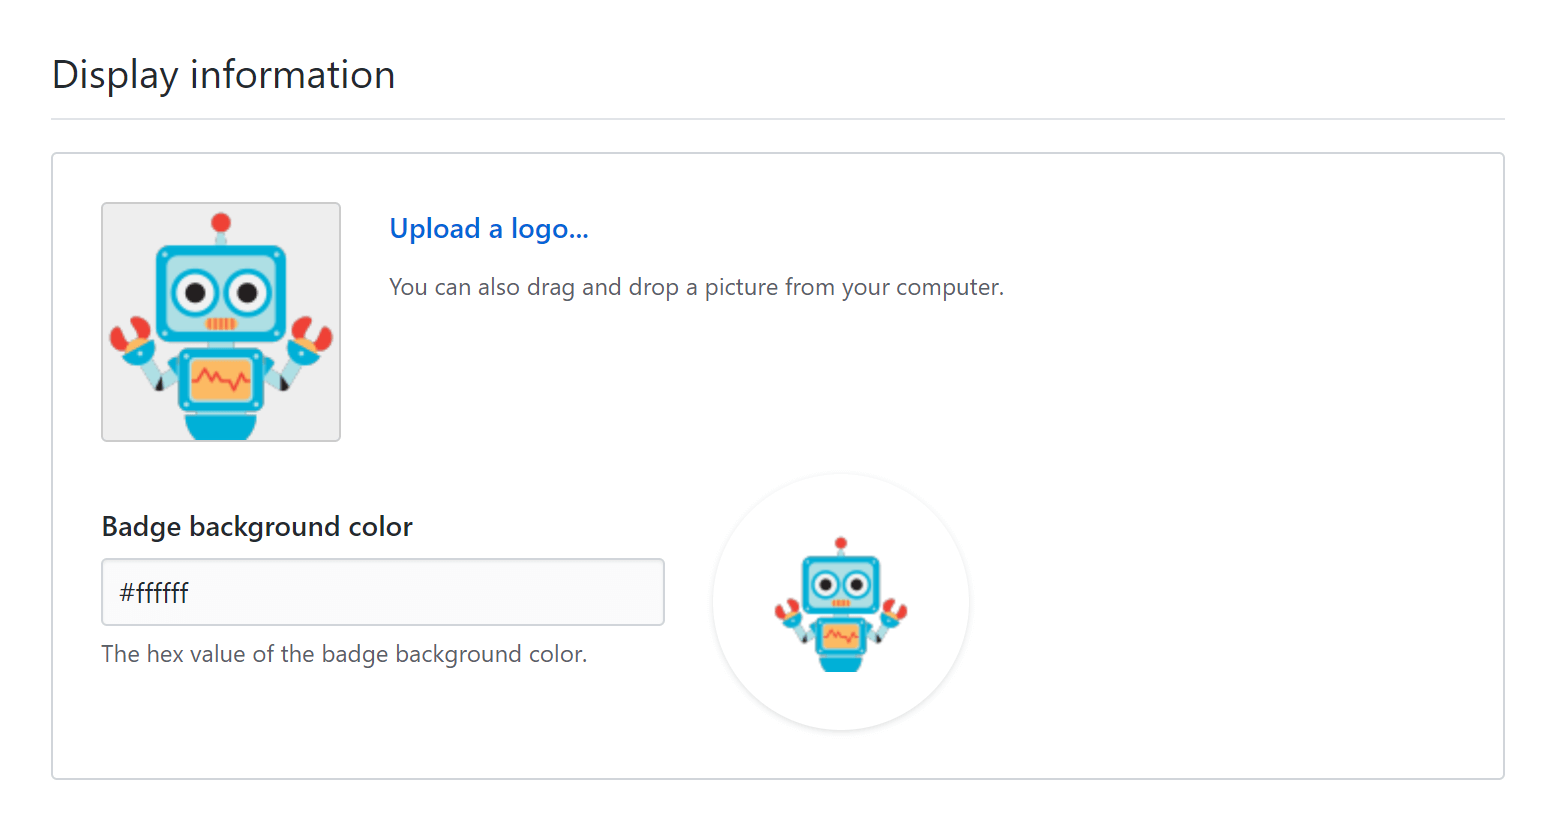
That's all that's required. For a final touch, I changed the logo for my bot to use the Probot logo in the "Display Information" section.
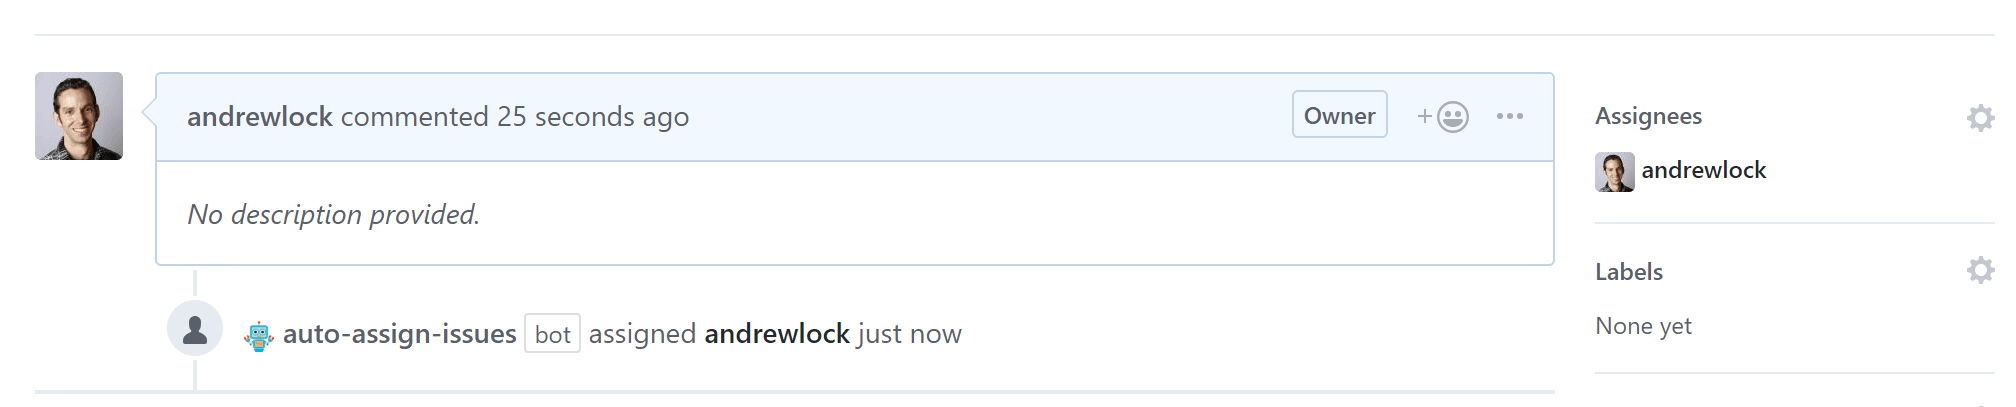
And that's it! You now have a GitHub app, built using Probot, deployed to Glitch, handling all your Webhooks. Take it for a spin on your test repo by creating a new issue, you should see yourself assigned to the issue.
If you make changes to your app and push them to GitHub, then you need to re-import them into Glitch. The import from GitHub is a single-point-in-time action. If you're not updating your app often then that's not a big deal, but my gut reaction was to try and setup CI deployments…
So where is the CI?
I tried. I really did.
The Probot documentation even specifically calls out adding continuous deployment to Glitch using the glitch-deploy tool, but the tool just didn't sit right with me. In the words of the project:
glitch-deploy is using puppeteer to run a headless Chrome browser to sign in to GitHub & Glitch, create a new Glitch app and import the repository form GitHub. Note that glitch-deploy is using undocumented Glitch APIs that might change at any time.
That just doesn't feel right to me. On top of that you need to provide a GitHub username and password so the app can sign in as you. The glitch-deploy repo recommends you "create a separate GitHub user account for the deployment to keep your own account’s credentials safe", but still, it's not for me.
I also tried using a similar tool that uses undocumented Glitch APIs called sync-glitch-cli. That tool re-uses the auth token sent from GitHub to Glitch for doing the sync, but I couldn't get that to work either.
In the end I gave up. CI from GitHub to Glitch just doesn't seem worth the hassle. If that's something you're after, I suggest deploying to one of the multitude of other services that will run a node.js app. For my use case, with infrequent updates to the app, Glitch is working fine!
Summary
In this post I described how to deploy a GitHub app written using Probot to Glitch. I showed how to link your Glitch account to GitHub, how to import a repository, and how to configure the required environment variables. Finally I showed how to update your app registration (from part 1) to point to the newly deployed Glitch app.