In this post, I give a brief introduction to Rancher and what you can use it for. Then I show how you can install it onto a host (an Ubuntu virtual machine in this case) to get Kubernetes running locally in just a few minutes.
Rancher recently released an alpha version of 2.0, which goes all-in on Kubernetes, and I wanted to give it a try. I'm just experimenting at the moment, but Rancher seems like a really promising way for you to get a local Kubernetes cluster up and running.
Note: Rancher labs have 2 separate products - Rancher, and RancherOS. RancherOS is an interesting take on an OS, in which pretty much everything is containerised, but that's not what I'm looking at in this post.
What is Rancher?
I wouldn't' be surprised if most people reading this post have never heard of Rancher. I certainly hadn't until quite recently. But if you've just managed to get your head around Docker, and are thinking about introducing Kubernetes for orchestration, then Rancher may be worth a look.
So what is Rancher? In their own words:
Rancher is an open source software platform that enables organizations to run and manage Docker and Kubernetes in production. With Rancher, organizations no longer have to build a container services platform from scratch using a distinct set of open source technologies. Rancher supplies the entire software stack needed to manage containers in production
That's a lot of words without a lot of meaning if you ask me.
Essentially, Rancher provides an easy way to manage your container orchestrators (such as Kubernetes, or Docker Swarm) via a web interface. It's an orchestrator for your orchestrator. I know the mention of a GUI will make a lot of die-hard console fans baulk in disgust - I like a good command line as much as the next person, but sometimes it's just nice to have a friendly UI.
How does it work?
Rancher consists of a central management service, the server, running on a host in a Docker container, and 1 or more additional hosts running an agent service, again in a Docker container. A host can be any Linux host, and Rancher lets you easily connect to cloud hosting like EC2, Digital Ocean, or Azure. Alternatively, you can add any host that's running a supported version of Docker.
Rancher adds a layer of dockerised infrastructure to connect all of your hosts, managing storage, networking, and DNS etc. Just follow the wizard to add a new host, and Rancher will take of setting it up and monitoring it for you.
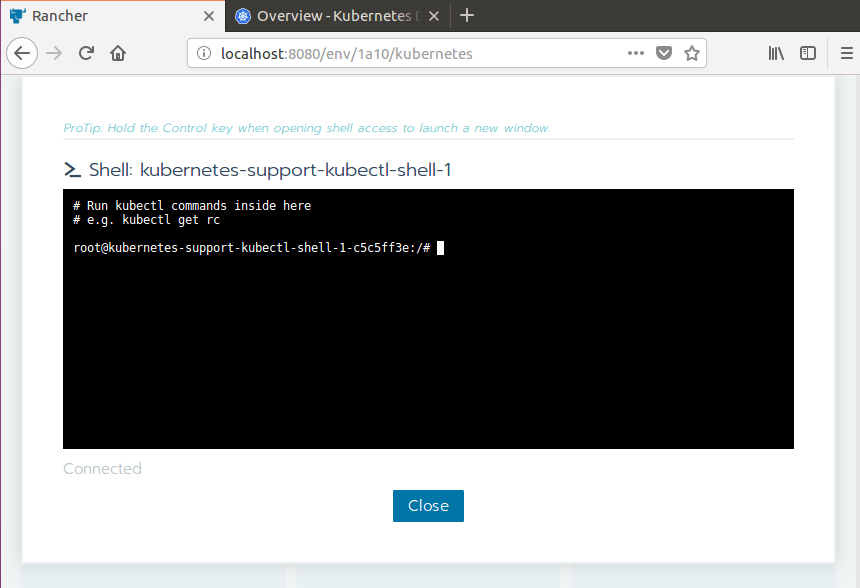
Rancher doesn't replace your "native" orchestrator. You can still use Kubernetes to manage your applications from the dashboard or the command line. Rancher even provides a handy in-browser shell for running kubectl commands on your Kubernetes cluster:
What can Rancher do for you?
So why bother with Rancher? Personally, Rancher looks like it should take a lot of the hassle out of setting up a Kubernetes cluster. It only took me a few minutes (maybe half an hour, I should have paid more attention!) to go from scratch to having a cluster running and looking at the Kubernetes dashboard.
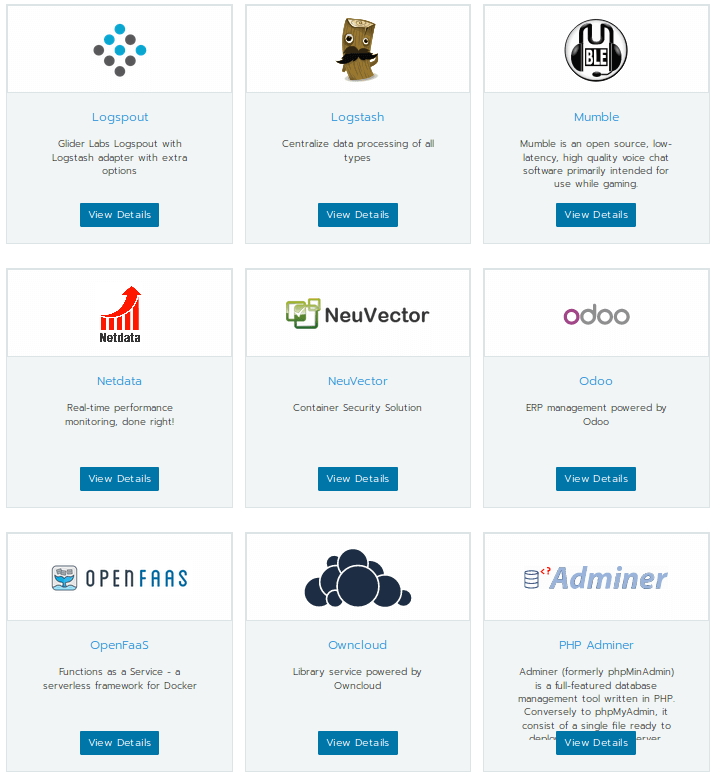
In a similar vein, Rancher includes a variety of "apps" that you can use to quickly spin up a whole array of services. These can be simple single container apps like Ghost or they could be whole multi-container systems like Openfaas. All of these are just a few clicks away to get them running on your hosts.
From the point of view of organisations, Rancher looks to have a lot of enterprise-level integration and support for things like authenticating with Active Directory, and managing access to multiple environments. I haven't looked into this aspect personally, but it looks like it should tick the right boxes to keep people happy.
How do you get started?
The one thing you need to get started, is a Linux host on which you can install the Rancher server. As long as it's running a supported version of docker, you'll be good to go. It could be a local machine, a VM, a cloud host, and doesn't need to be very powerful.
I decided to give Rancher a go by running it locally in a virtual machine, and installing Kubernetes, just to see what the experience was like. This post describes pretty much all the steps I went through to get set up.
Running Rancher in a local VM
The rest of this post describes how I got the Rancher 2.0 running locally in a virtual machine, and deployed Kubernetes. As I mentioned before, v2.0 is only in alpha, so things might well change, but everything went very smoothly for me
A word of warning, I'm a Windows guy, so the rest of this post may feel a bit arduous if you're more used to playing with Linux and setting up VMs than I am. This is as much a record for myself of what I did to get running, so apologies if it's a bit slow!
First thing's first, we need a virtual machine to run the Rancher server. If you already have a Linux host running a compatible version of Docker you can skip ahead to installing Rancher.
Setup the VM
I won't go into installing a hypervisor here - I'm using VMware Player, but you could use Virtual Box or Hyper-V i'm sure.
1. Install Ubuntu
Rancher server v1.6 will support any modern Linux distro, but for v2.0 it may need to be Ubuntu 16.04 at the moment. I'm sure that will expand later, but it suits me.
Download Ubuntu 16.04 from https://www.ubuntu.com/download/desktop and install it in your hypervisor. Once you're at the desktop, open a terminal (CTRL+ALT+T).
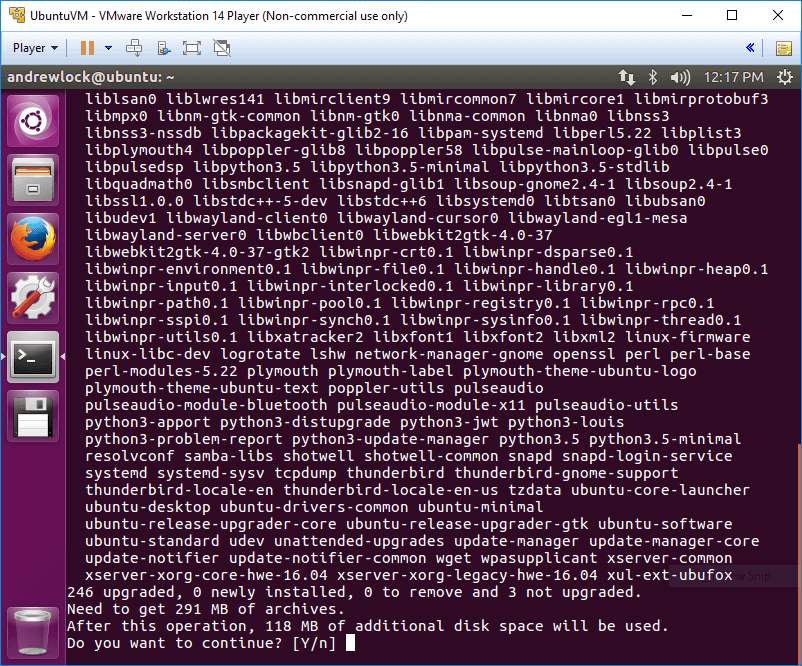
As always with a new OS, first-things-first, install the updates. You need to run two commands:
sudo apt-get update- Updates the list of available packages and their versionssudo apt-get upgrade- Actually installs the updates
Now we have an up-to-date OS, we can install Docker.
2. Install Docker
Rancher runs inside a Docker container, so you need to install of the compatible versions of Docker on your host. For version v2.0, the compatible versions are:
- Docker v1.12.6
- Docker v1.13.1
- Docker v17.03-ce
- Docker v17.06-ce
I went with the most recent compatible version, v17.06-ce. I followed the instructions for installing Docker from here, but I give the highlights below.
1. Install packages to allow apt to fetch updates from a repository over HTTPS:
sudo apt-get install \
    apt-transport-https \
    ca-certificates \
    curl \
    software-properties-common
2. Add Docker’s official GPG key. This is used to ensure the packages downloaded can be trusted.
curl -fsSL https://download.docker.com/linux/ubuntu/gpg | sudo apt-key add -
3. Setup the stable Docker apt repository, so we can download Docker packages
sudo add-apt-repository \
   "deb [arch=amd64] https://download.docker.com/linux/ubuntu \
   $(lsb_release -cs) \
   stable"
4. Run another apt-get update, to populate the package list from the stable Docker apt repository
sudo apt-get update
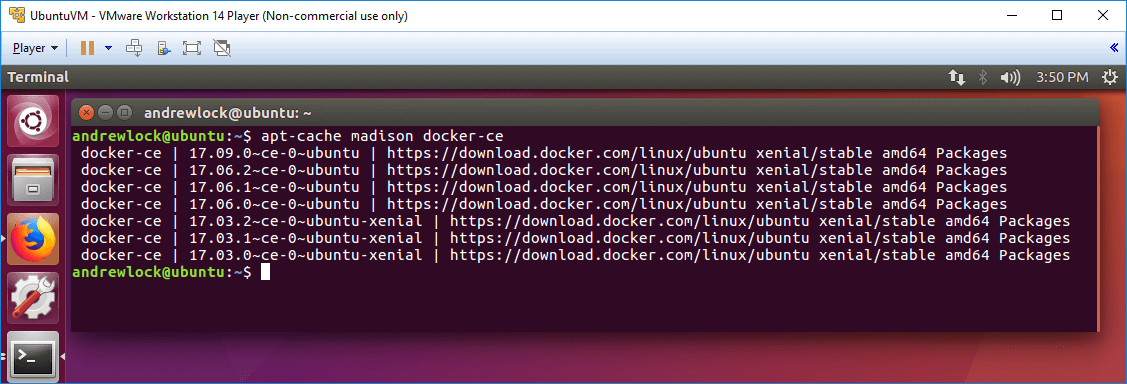
5. Check the versions of Docker available using apt-cache
apt-cache madison docker-ce
This displays a list of the available packages, the version numbers are shown in the second column. I chose the second one down, 17.06.2~ce-0~ubuntu
6. Install the specific compatible Docker version
sudo apt-get install docker-ce=17.06.2~ce-0~ubuntu
7. Check it's installed by running docker--version
docker --version
Docker version 17.06.2-ce, build cec0b72
Phew. Now we have a host running Docker, we can get down to business, installing Rancher!
3. Install Rancher Server
As I've mentioned ad nauseum, Rancher runs in Docker, so installing the Rancher server is as simple as running a Docker container:
sudo docker run -d --restart=unless-stopped -p 8080:8080 rancher/server:preview
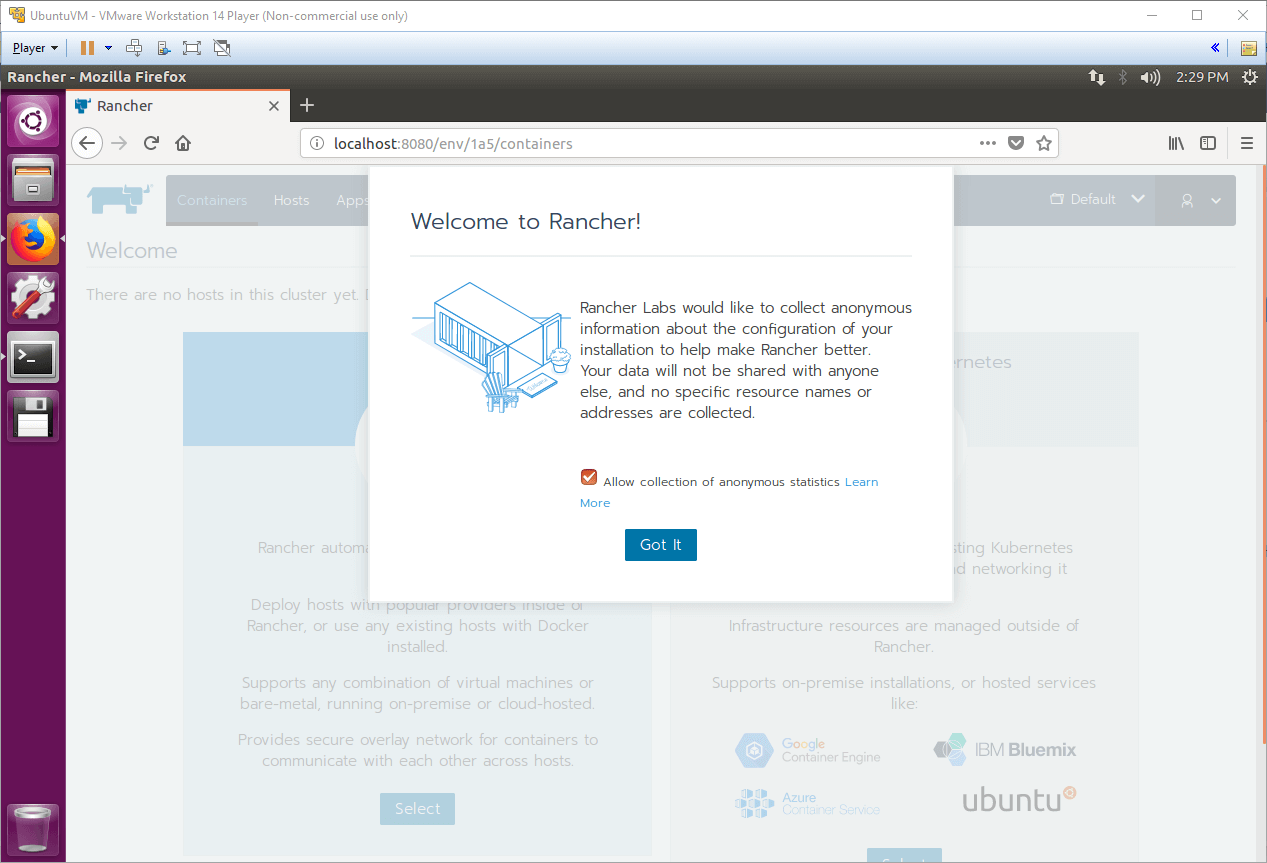
If you now navigate to http://localhost:8080 in your VM, you'll see the Rancher server welcome page - easy!
4. Add a Host and install Kubernetes
Once Rancher is running, the next thing to do is to give it something to manage. If you already have a Kubernetes cluster running on Azure Container Service or Google Container Engine for example, you can simply import this cluster into Rancher. If you do that, Rancher doesn't manage the host, but you can view the status of your nodes in one place.
Instead, we're going to add our own host, and install Kubernetes on it using Rancher to do the hard work for us.
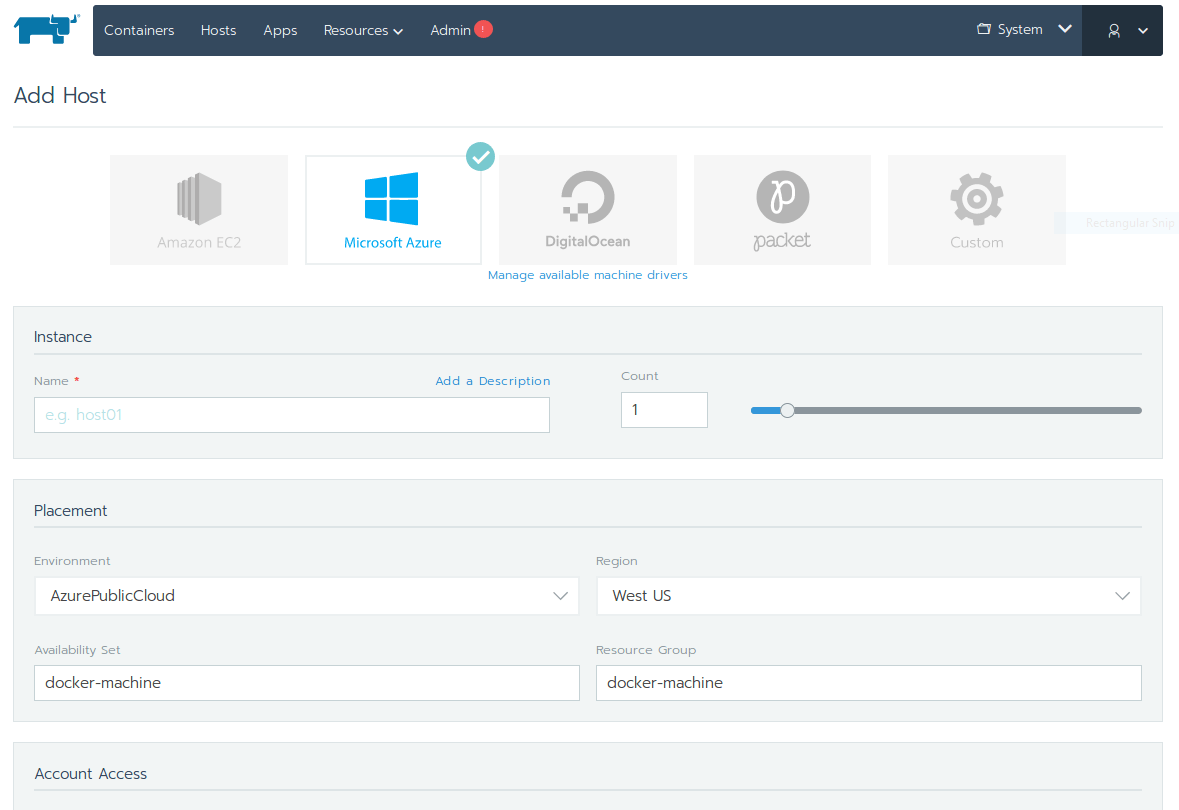
1. Click Add Host. This presents you with a variety of options for where you wish to run your Linux host. You could spin up an EC2 instance, or a DO droplet, but in this case, I'm going to add the same VM as a host, so choose Custom. This probably wouldn't be a good idea in production, but it seems to work fine for me locally.
2. Enter the IP address of your host. You need all your hosts to be able to communicate with each other - I just entered the IP of the VM (found using hostname -I).

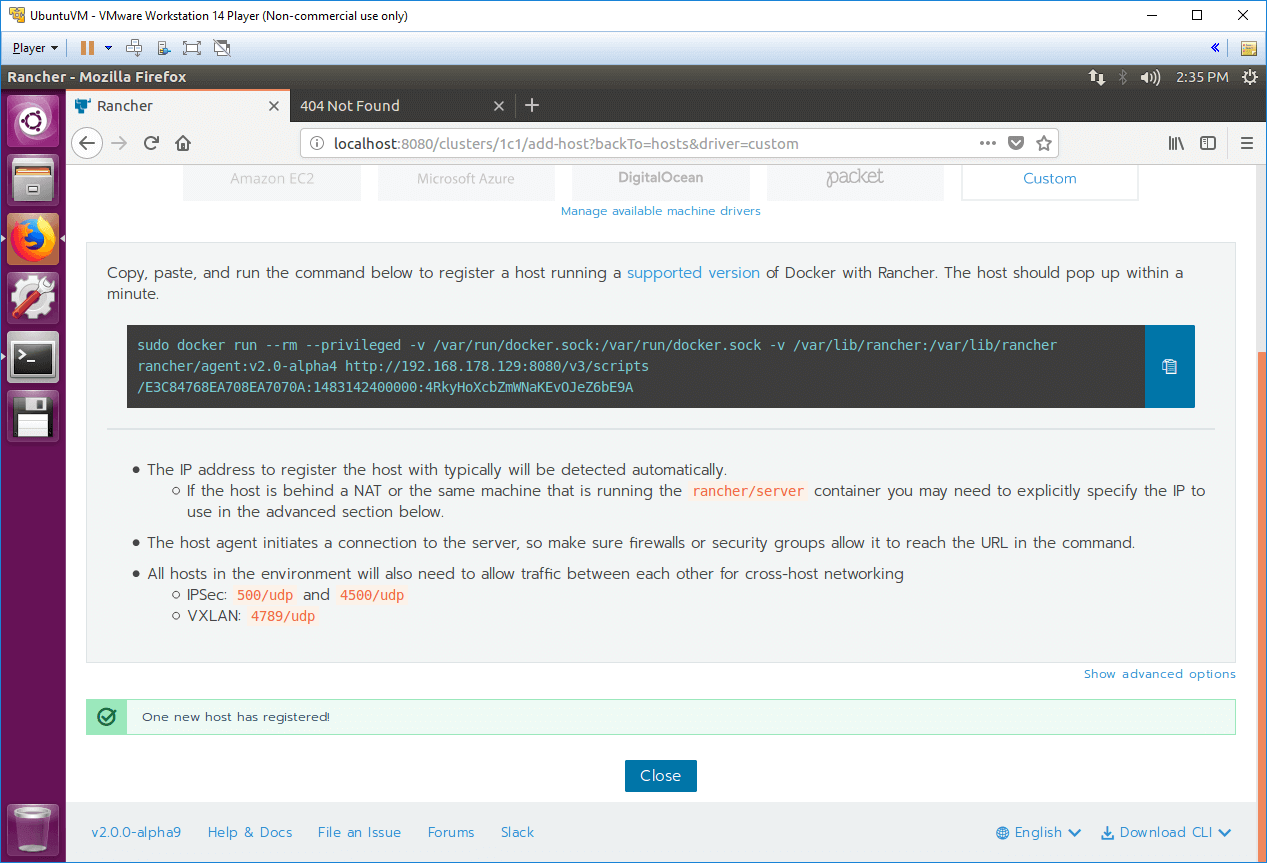
3. When you click Save, you'll be provided a script to run on your linux host.
sudo docker run --rm --privileged -v /var/run/docker.sock:/var/run/docker.sock -v /var/lib/rancher:/var/lib/rancher rancher/agent:v2.0-alpha4 http://192.168.178.129:8080/v3/scripts/E3C8476FE2408EA7070A:1464462400000:4RkyHoXcbZmWNaKEvOJeZ6bE9A
Run this on the host (the same VM in our case). This starts the Rancher agent on your host, and includes a key so it can authenticate with the Rancher server. Once it's started successfully, you should see a message appear down the bottom saying "One new host has registered"
4. Wait for everything to start up. Once the host is added, Rancher will install Kubernetes on it, and start monitoring the health of the host. This was the slowest part, waiting for the agent to spin up all the bells and whistles that go into a Kuberentes cluster!
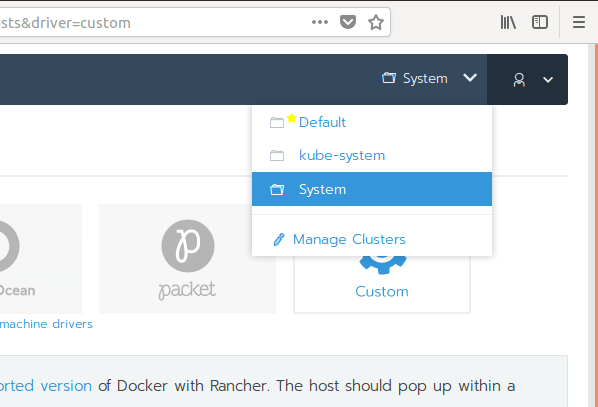
You can view the progress by switching to the System environment (you start in Default) from the top-right menu:
This shows all your containers, so you just need to wait for everything to turn green:
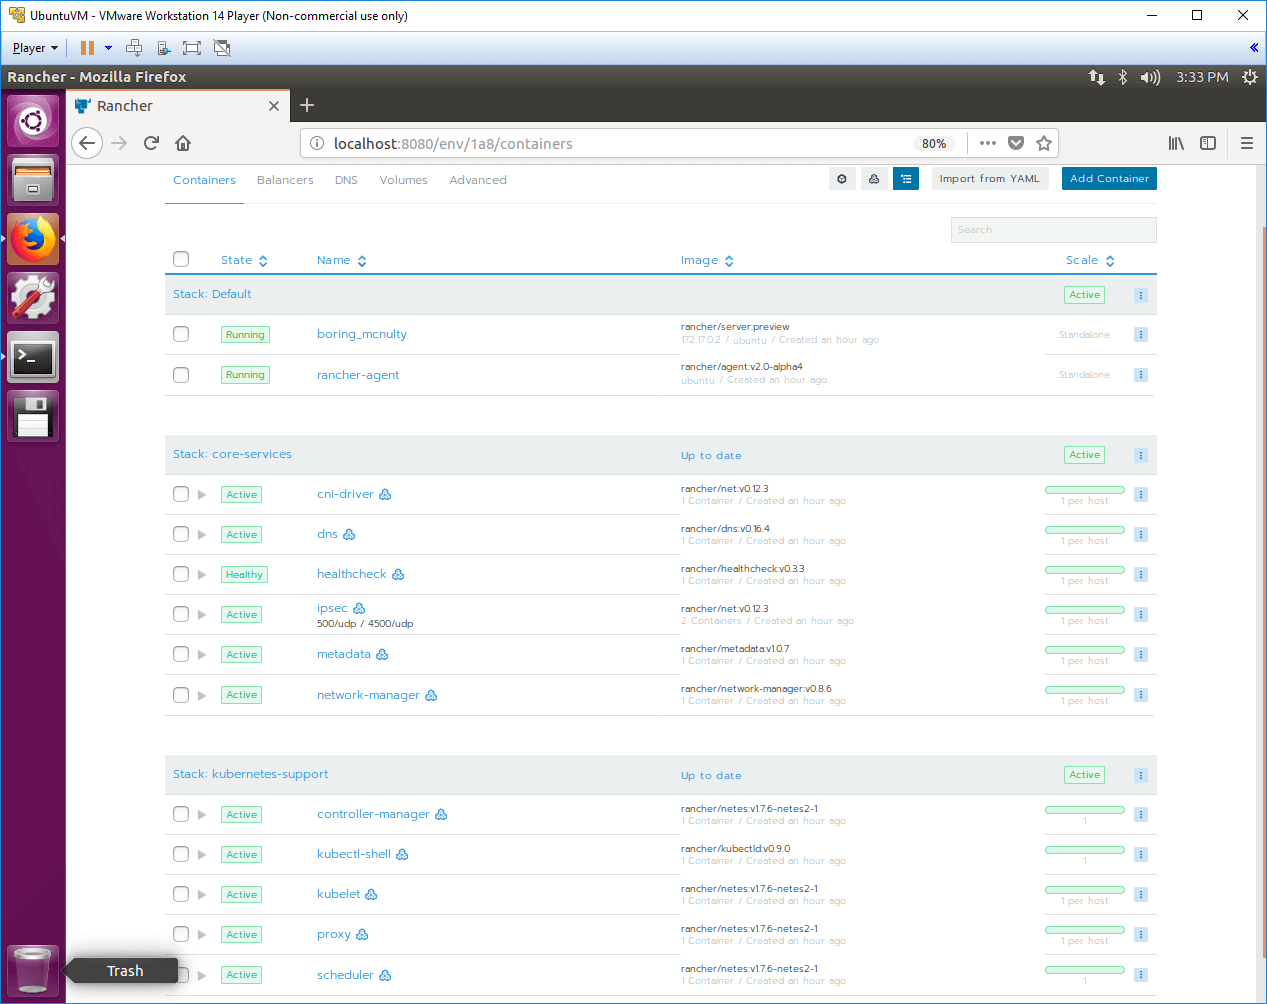
Once you have green, you're good to go - you're running Kubernetes! If you ignore the cruft of setting up the VM and installing Docker, then that was really just 2 Docker commands to run. Not bad in my book.
5. View the Kubernetes dashboard
Just to prove we really have a Kubernetes cluster, let's explore a little. From the Containers page, click on the Advanced tab. This gives you the options below:
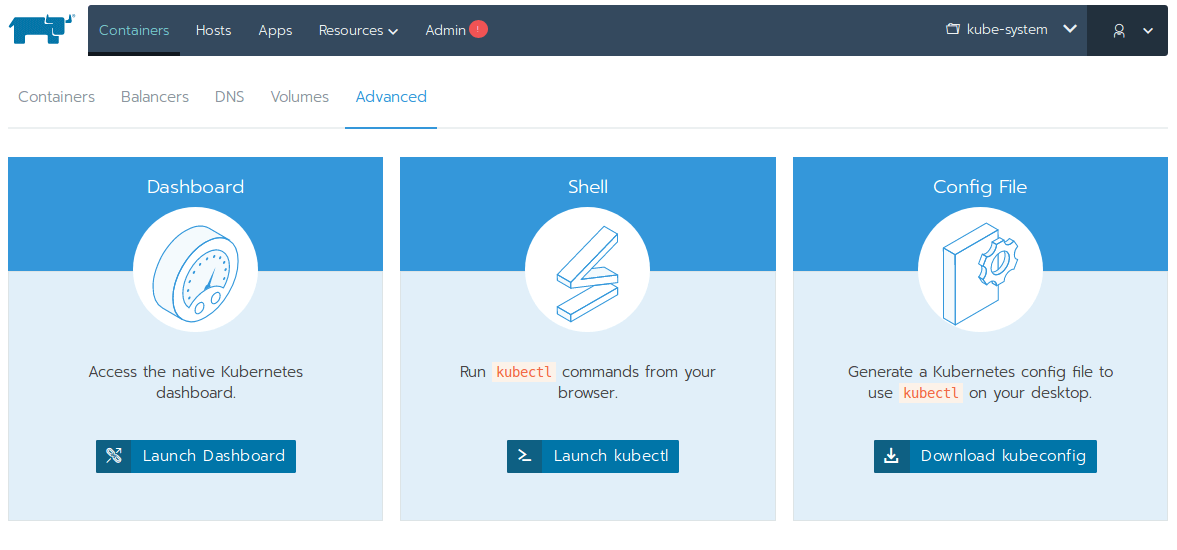
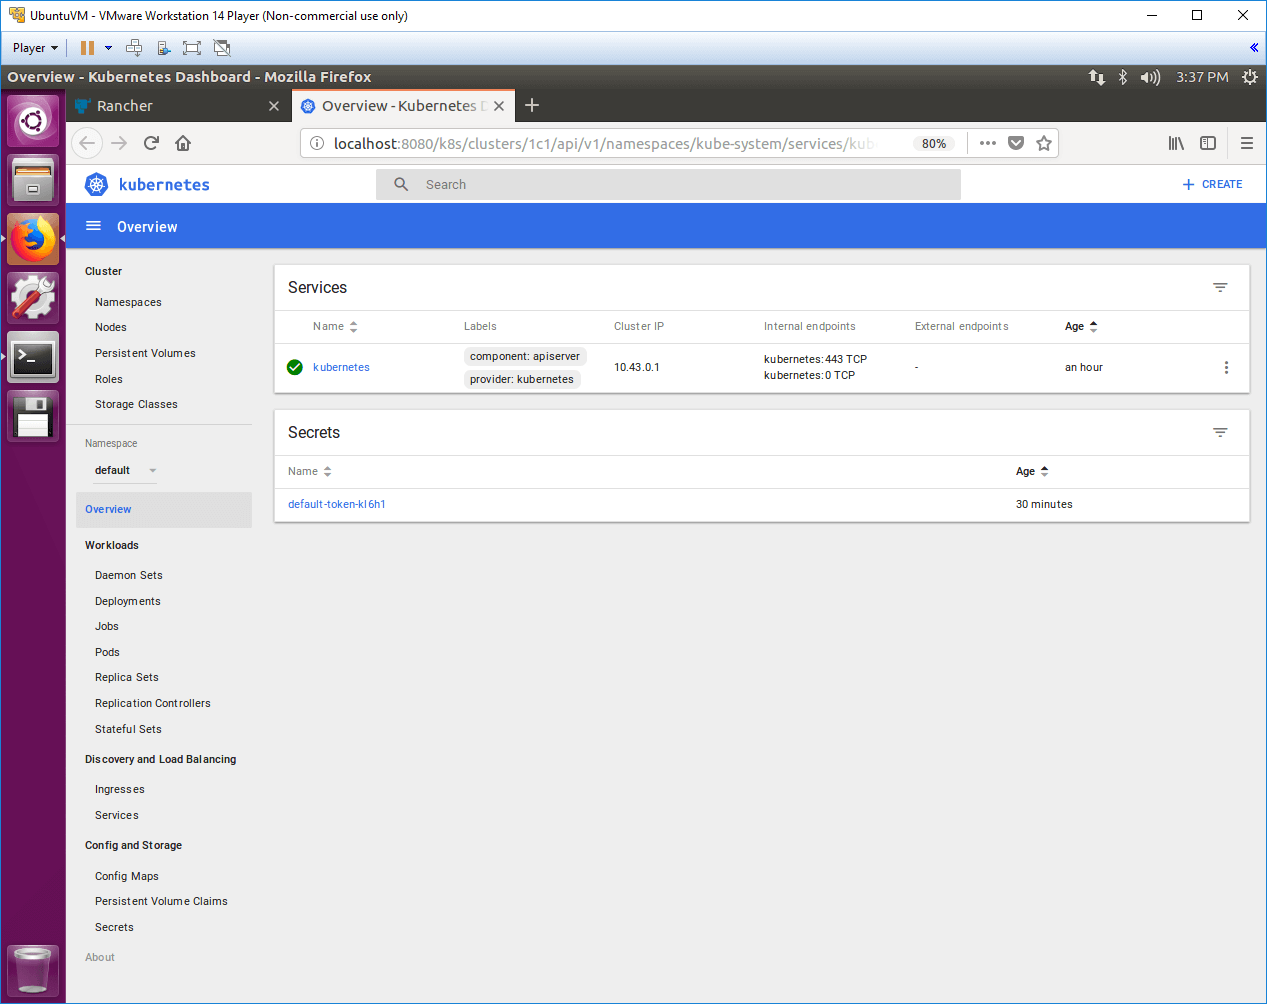
If you click Launch Dashboard, Rancher opens the Kubernetes dashboard for your cluster, just to prove you really are running your own Kubernetes cluster.
Summary
In this post I provided a quick introduction to Rancher, and where it fits in the Docker and Kubernetes ecosystem. I showed how to deploy Rancher 2.0 to a local VM, to quickly get Kubernetes running. I've only played with it a little so far, but I really like how little effort it was to get started. I'll have some follow up posts soon with further thoughts no doubt!