
In a recent .NET Community Standup, a new library was introduced that's being built by the Azure team - Microsoft.FeatureManagement. In this post, I give a brief introduction to the library and how to use it in an ASP.NET Core app. This post just covers the basics - in later posts I'll show some of the ASP.NET Core-specific features, as well as how to create custom feature filters.
Microsoft.FeatureManagement is currently in preview, so some details may change when it's properly released.
Introducing Microsoft.FeatureManagement
If you haven't heard of Microsoft.FeatureManagement, don't feel bad - it's not on GitHub yet, and isn't being developed by the core ASP.NET Core team, so it's definitely flying under the radar. Instead, it's being developed by the Azure team, so you'll find what few docs there are under Azure rather than .NET Core.
Despite being developed by the Azure team, Microsoft.FeatureManagement doesn't have any direct ties to Azure itself. Instead, it's a .NET Standard 2.0 library that you can find on NuGet (in preview). There's also a package Microsoft.FeatureManagement.AspNetCore which adds TagHelper support if you need it.
Microsoft.FeatureManagement is built on top of the Microsoft.Extensions.Configuration configuration system used in ASP.NET Core (but which can also be used in any .NET Standard app). It provides a centralised but extensible way for adding feature flags to your system. This lets you roll out new features to a subset of users, limiting the availability of a feature by time, or performing A/B tests, for example.
As Microsoft.FeatureManagement is built on top of the configuration system, it can be controlled by any of the various configuration providers available. That means you can control features from an appsettings.json file, from environment variables, from a database, or from any number of other providers. Enabling and disabling features simply requires changing values in one of your configuration providers.
If you're building an app of any size, it's very likely you'll already be using feature flags, and you may well be using the configuration system to control it. Microsoft.FeatureManagement mostly just formalises this approach, so if you're not using your own version already, it's worth taking a look.
How it works: simple feature flags
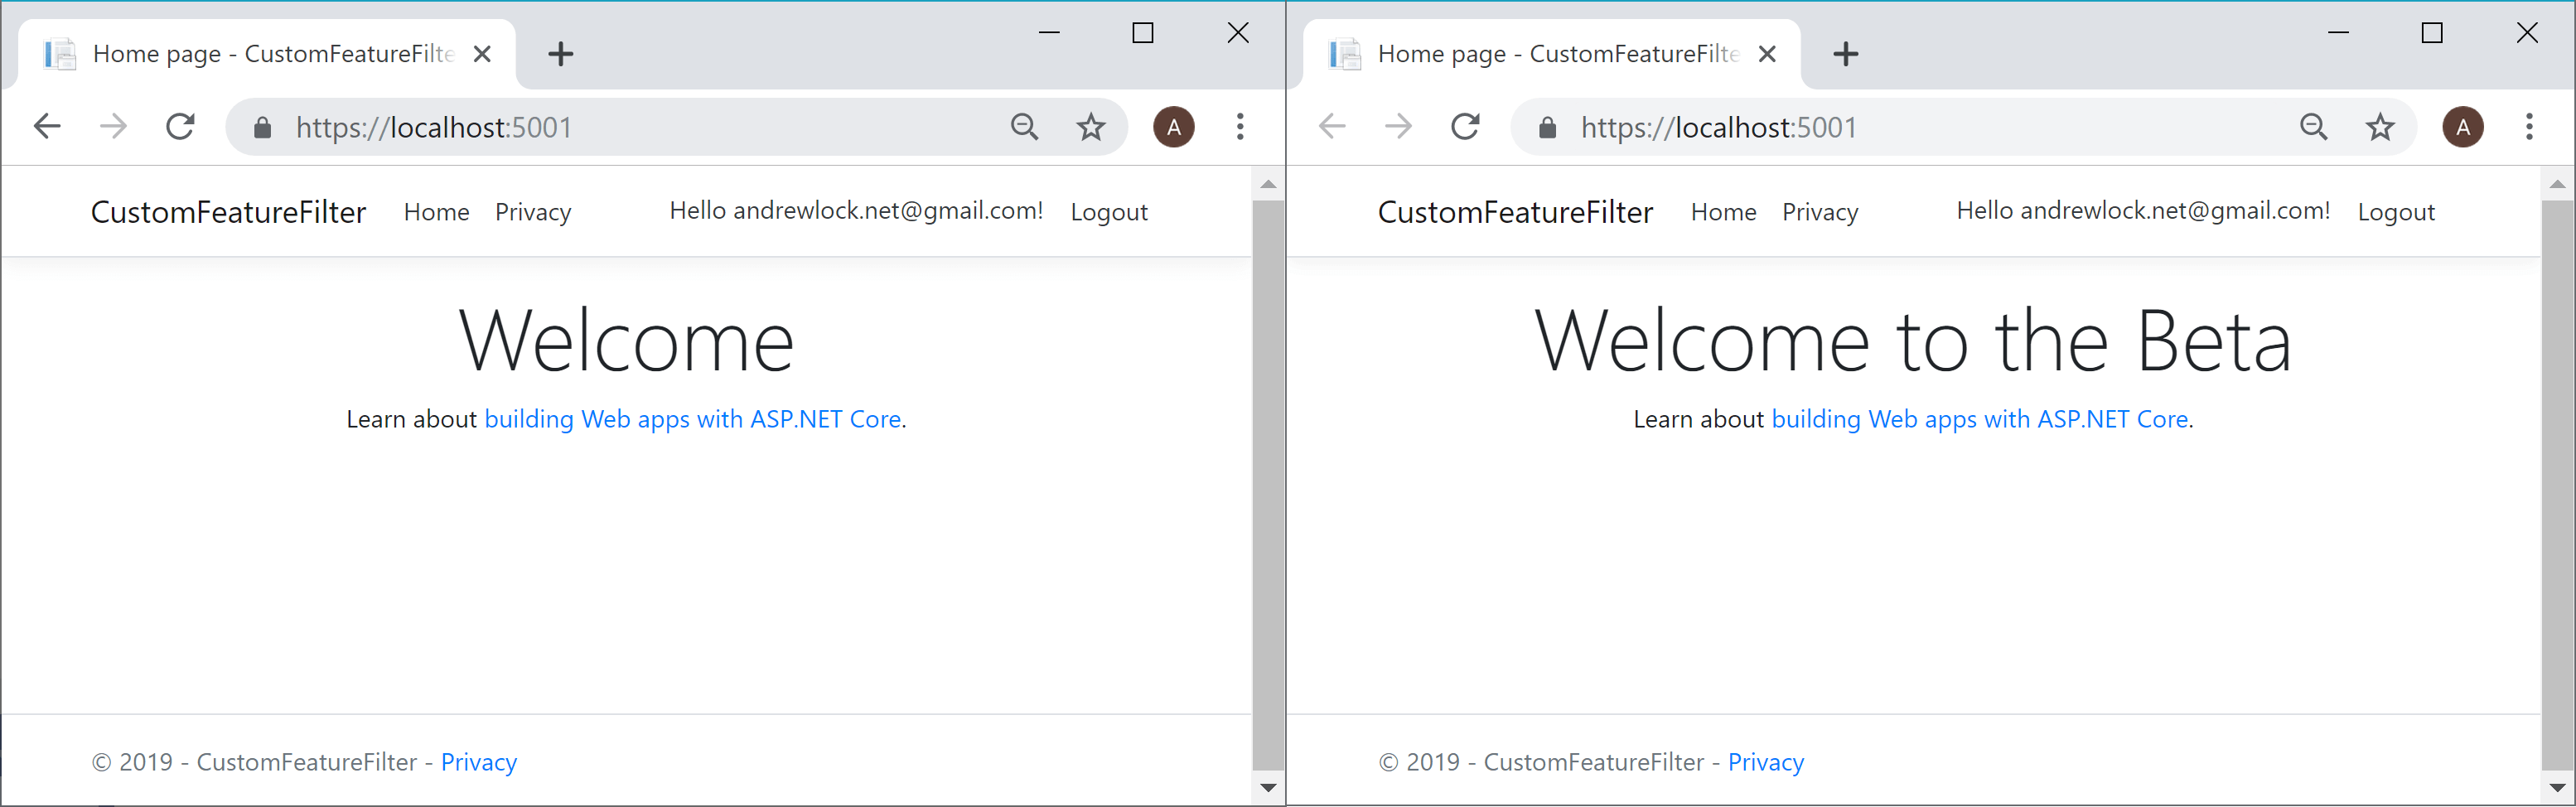
I'll start off demonstrating the Microsoft.FeatureManagement package by adding a simple feature flag to an ASP.NET Core application that controls what welcome message we display on the home page. When the flag is off, we'll display "Welcome"; when the flag is on, we'll display "Welcome to the Beta":
Installing the package
In this example, I'm using an ASP.NET Core Web Application (Razor Pages) with Individual Authentication, but you can use any .NET Standard app that uses the Microsoft.Extensions.Configuration system.
First you need to install the Microsoft.FeatureManagement package. The package is in preview at the time of writing, so you'll need to enable the "previews" checkbox if you're using the NuGet GUI, and use the full version string if you're using the dotnet CLI:
dotnet add package Microsoft.FeatureManagement --version 1.0.0-preview-009000001-1251
After adding it, your .csproj file should look something like this:
<Project Sdk="Microsoft.NET.Sdk.Web">

  <PropertyGroup>
    <TargetFramework>netcoreapp2.2</TargetFramework>
    <AspNetCoreHostingModel>InProcess</AspNetCoreHostingModel>
  </PropertyGroup>

  <ItemGroup>
    <PackageReference Include="Microsoft.AspNetCore.App" />
    <PackageReference Include="Microsoft.AspNetCore.Razor.Design" Version="2.2.0" PrivateAssets="All" />
    <PackageReference Include="Microsoft.FeatureManagement" Version="1.0.0-preview-009000001-1251" />
  </ItemGroup>

</Project>
Now you can add the required services to your DI container:
using Microsoft.FeatureManagement;

public class Startup
{
    public void ConfigureServices(IServiceCollection services)
    {
        //...
        services.AddFeatureManagement();
    }
}
That's all the infrastructure out of the way, so it's time to actually add the flags to your application.
Adding simple feature flags
In order for the FeatureManagement library to "discover" your features, you should create a "FeatureManagement" section in your app's configuration. Each sub-key of the section is a separate feature flag. For example, in the following appsettings.json file, we've created a single feature flag, NewWelcomeBanner, and set it's value to false
{
  "Logging": {
    "LogLevel": {
      "Default": "Warning"
    }
  },
  "FeatureManagement": {
    "NewWelcomeBanner": false
  }
}
Remember, this is all driven by the standard ASP.NET configuration providers, so another way to configure the flag would be to create an environment variable
FeatureManagement__NewWelcomeBannerand set its value to"false".
You now have a feature flag (currently disabled) available to your application, but we're not using it anywhere yet. Open up the code-behind for the home page of your application, Index.cshtml.cs, and inject the IFeatureManager into your page:
using Microsoft.FeatureManagement;

public class IndexModel : PageModel
{
    private readonly IFeatureManager _featureManager;
    public IndexModel(IFeatureManager featureManager)
    {
        _featureManager = featureManager;
    }

    // ...
}
The IFeatureManager service allows you to interrogate the feature management system to identify whether a feature flag is enabled or not. IFeatureManager exposes a single method, for checking whether a feature flag is enabled:
public interface IFeatureManager
{
    bool IsEnabled(string feature);
}
You'll notice that the feature is a string value, which should match the value you used in your configuration, "NewWelcomeBanner". You can add a property to PageModel, and set it conditionally based on the value of the feature flag:
public class IndexModel : PageModel
{
    private readonly IFeatureManager _featureManager;
    public IndexModel(IFeatureManager featureManager)
    {
        _featureManager = featureManager;
    }

    public string WelcomeMessage { get; set; }

    public void OnGet()
    {
        WelcomeMessage = _featureManager.IsEnabled("NewWelcomeBanner")
            ? "Welcome to the Beta"
            : "Welcome";
    }
}
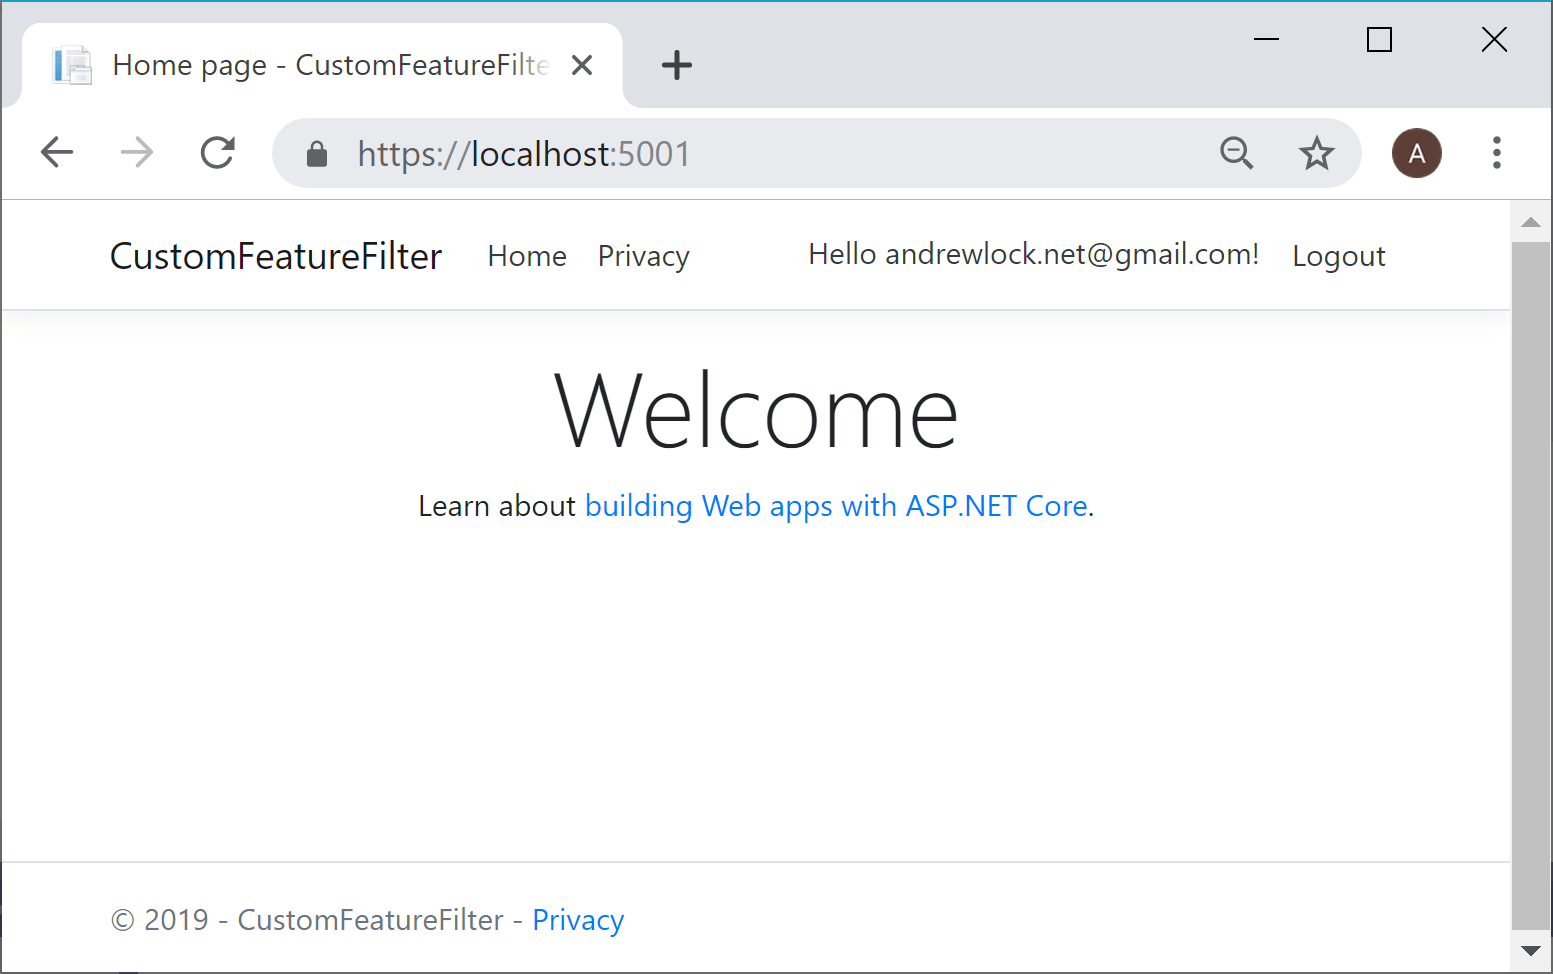
When you run your app, the feature flag is disabled (as we disabled it in configuration), so you'll see the standard "Welcome" headline:
However, if you edit your appsettings.json file, set "NewWelcomeBanner": true, and reload the page, you'll see that the feature flag has been enabled, and the new banner is visible.
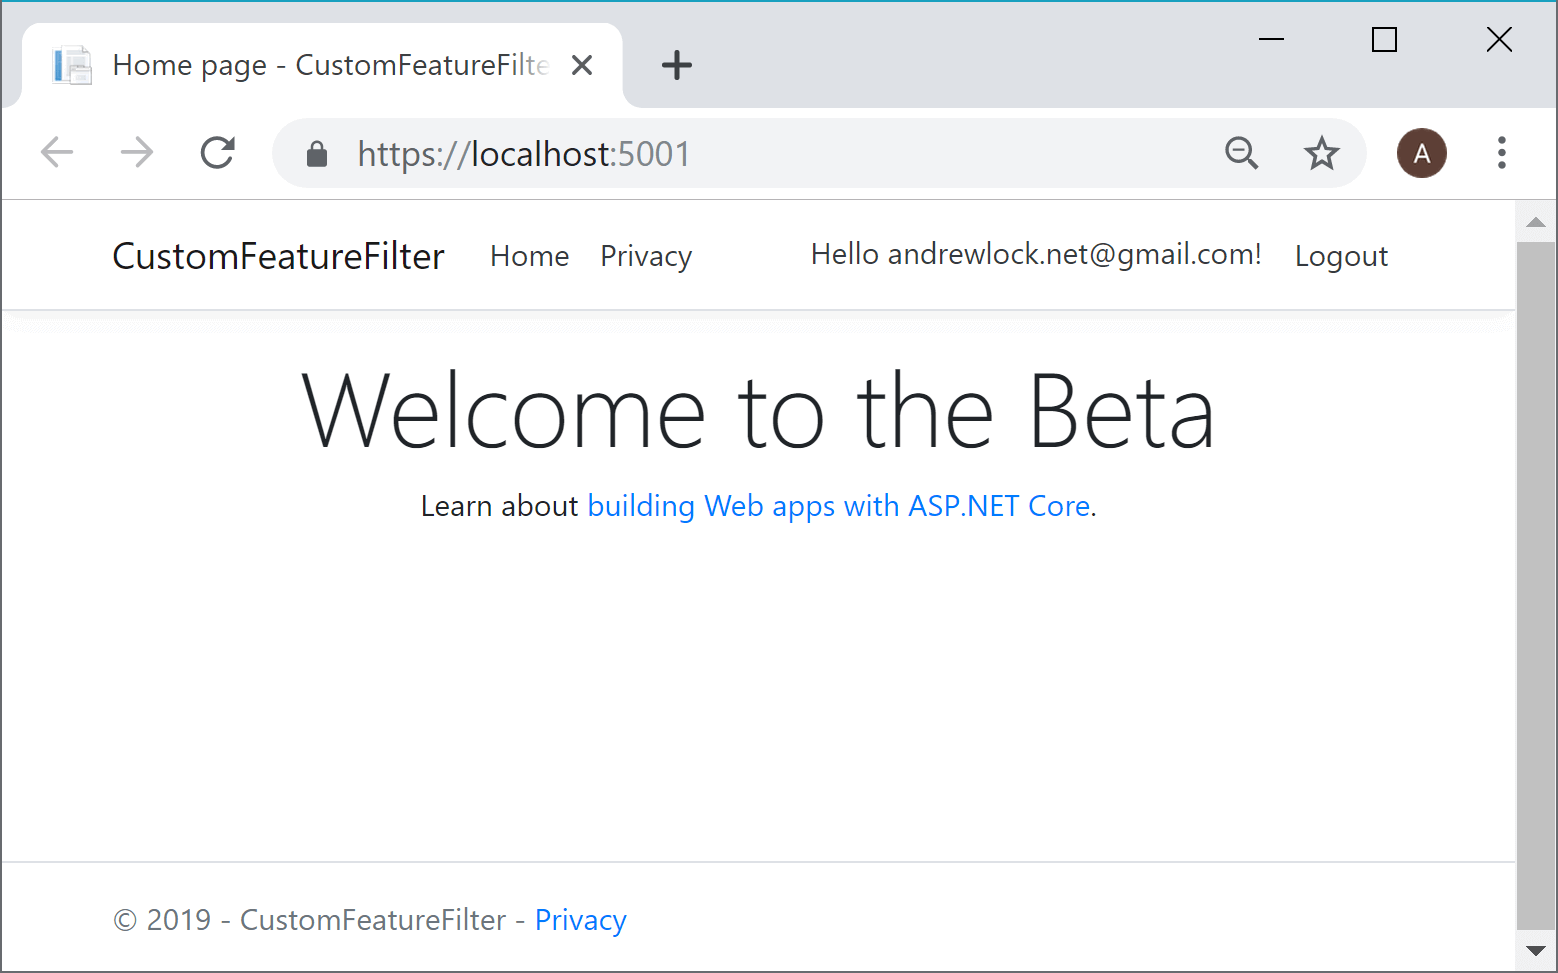
Thanks to the JSON file configuration provider, you don't have to restart your app - the configuration provider will automatically detect the change and update the feature flags on the fly.
As already pointed out, the Microsoft.FeatureManagement library relies on the underlying configuration system, so if you want to adjust feature flags dynamically like this, you'll need to use a configuration provider that supports dynamic updating of configuration values like the file providers or Azure Key Vault provider.
Reducing magic-strings
Feature flags are identified in code using magic-strings: "NewWelcomeBanner" in the previous example. Instead of scattering these around your code, the docs recommend creating a FeatureFlags enum, and calling nameof() to reference the values, e.g:
// Define your flags in an enum
// Be careful not to refactor/rename any typos, as that will break configuration
public enum FeatureFlags
{
    NewWelcomeBanner
}

// Reference the feature flags using nameof()
var isEnabled = _featureManager.IsEnabled(nameof(FeatureFlags.NewWelcomeBanner));
Personally, I think I'd prefer to just use a static class and string constants, as it reduces the verbosity at the call site. But both approaches are essentially identical:
// Using a static class separates the "name" of the feature flag
// from its string value
public static class FeatureFlags
{
    public const string NewWelcomeBanner = "NewWelcomeBanner";
}

// No need for nameof() at the call site
var isEnabled = _featureManager.IsEnabled(FeatureFlags.NewWelcomeBanner);
The features shown in this post (loading from configuration, IFeatureManager) are all part of the core Microsoft.FeatureManagement library, so you can use them in any .NET Standard 2.0 application. In the next post I'll introduce Microsoft.FeatureManagement.AspNetCore which provides ASP.NET Core-specific features like Tag Helpers and Action Filters that will make working with features easier in many ASP.NET Core apps.
Summary
The Microsoft.FeatureManagement library is a new library being developed by the Azure team to standardise feature management in ASP.NET Core apps. It is currently in preview, and relies on the configuration system for controlling which features are enabled. In this post, I showed how to create simple features, and how to check for them in your apps using the IFeatureManager interface.