This post is just a quick tip that I found myself using recently - including files in a project that are outside the project directory. I suspect this feature may have slipped under the radar for many people due to the slightly obscure UI hints you need to pick up on in Visual Studio.
Adding files from outside the project by copying
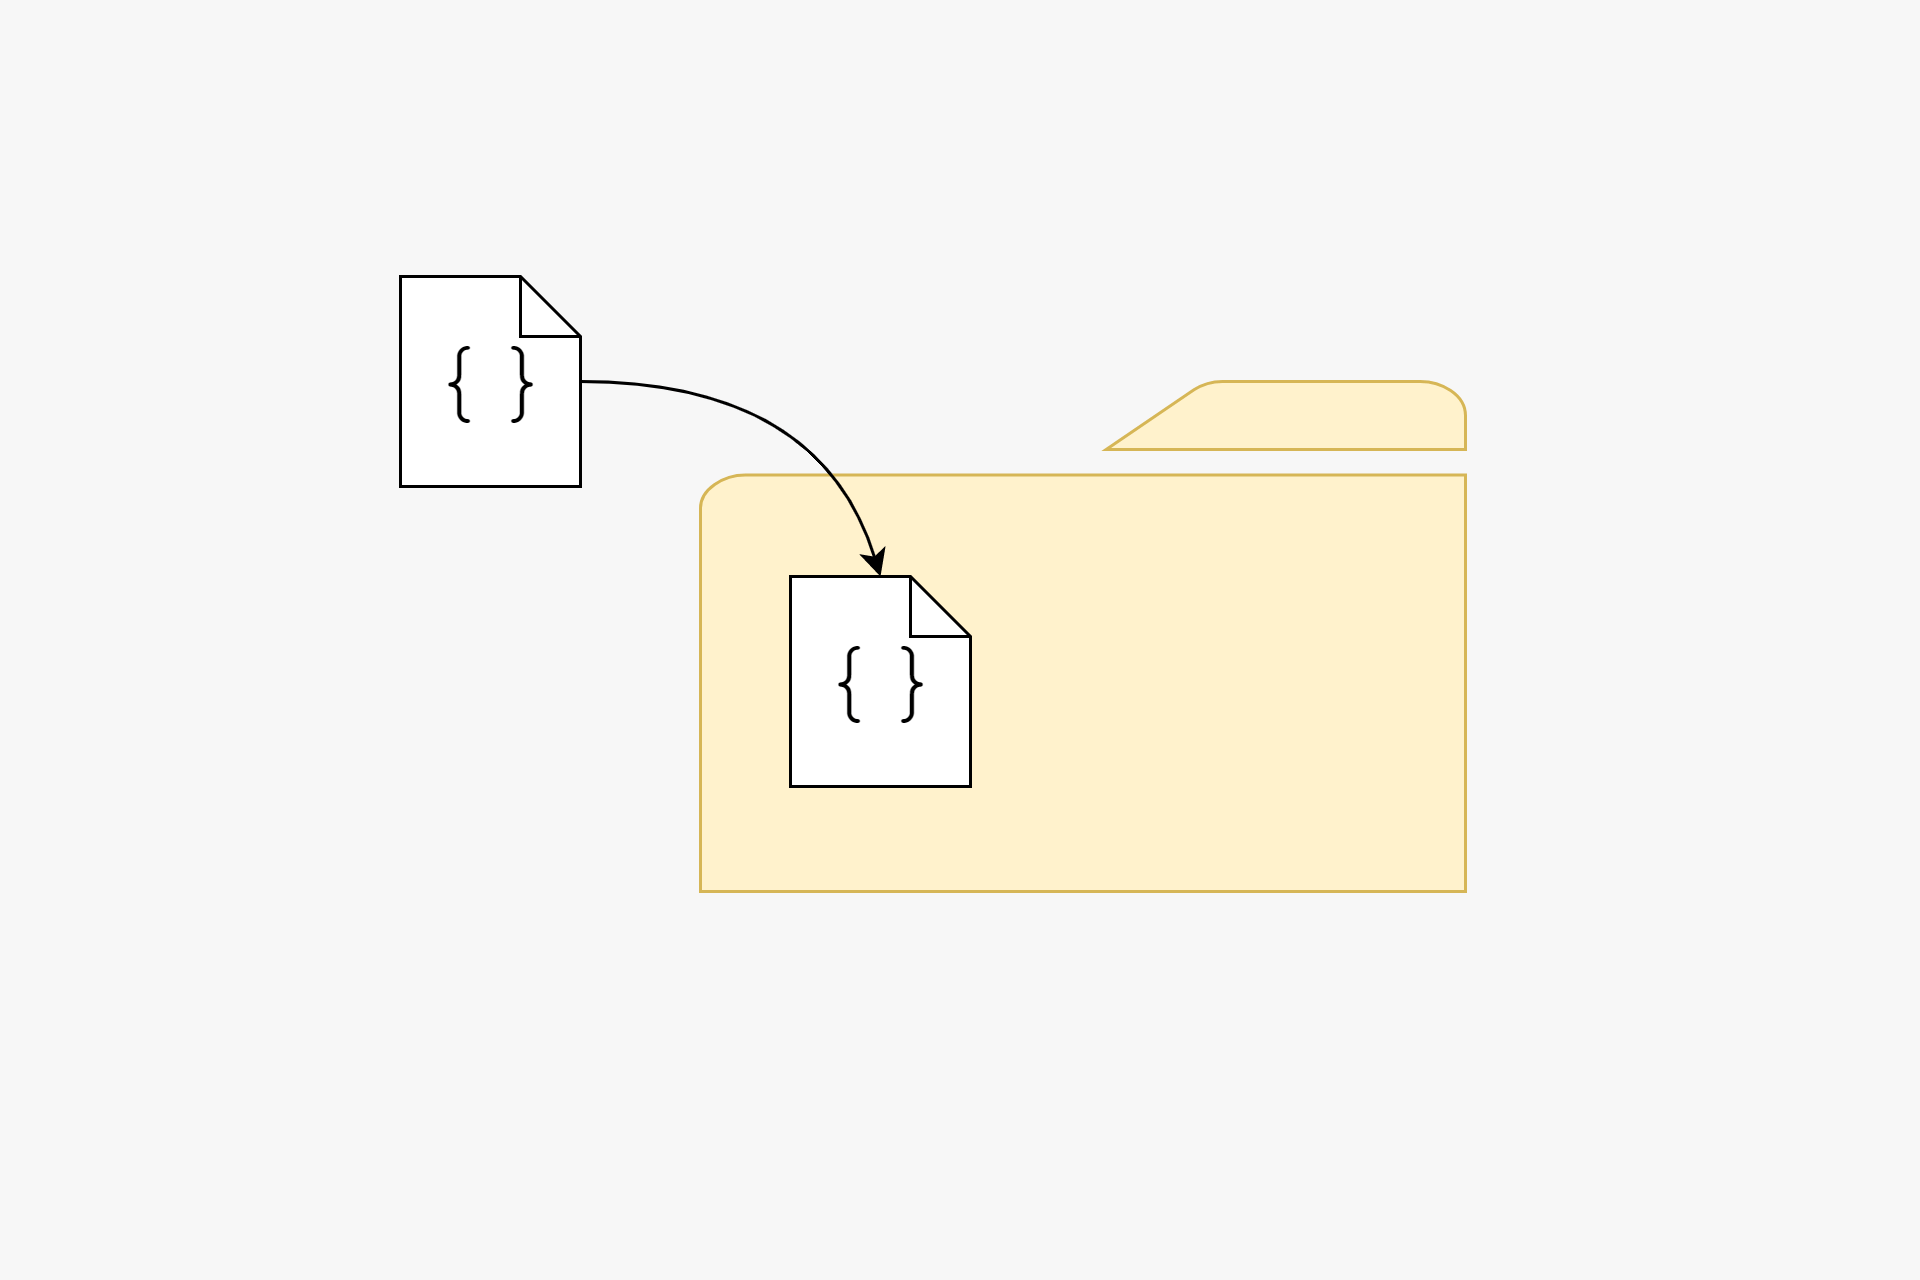
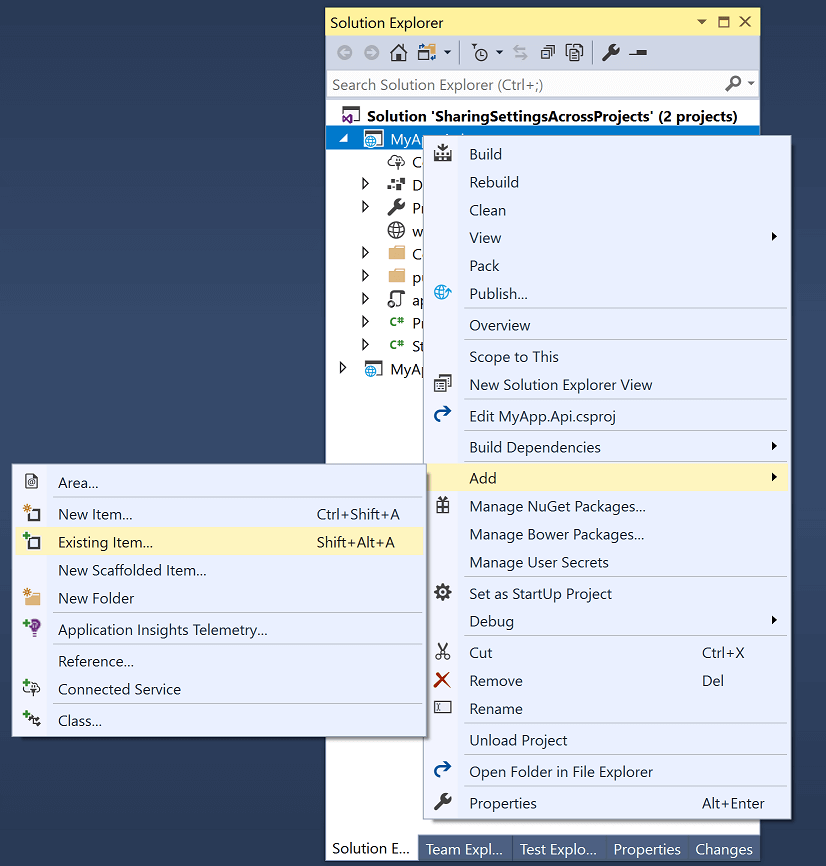
Sometimes, you might want to include an existing item in your ASP.NET Core apps that lives outside the project directory. You can easily do this from Visual Studio by right clicking the project you want to include it in, and selecting Add > Existing Item…
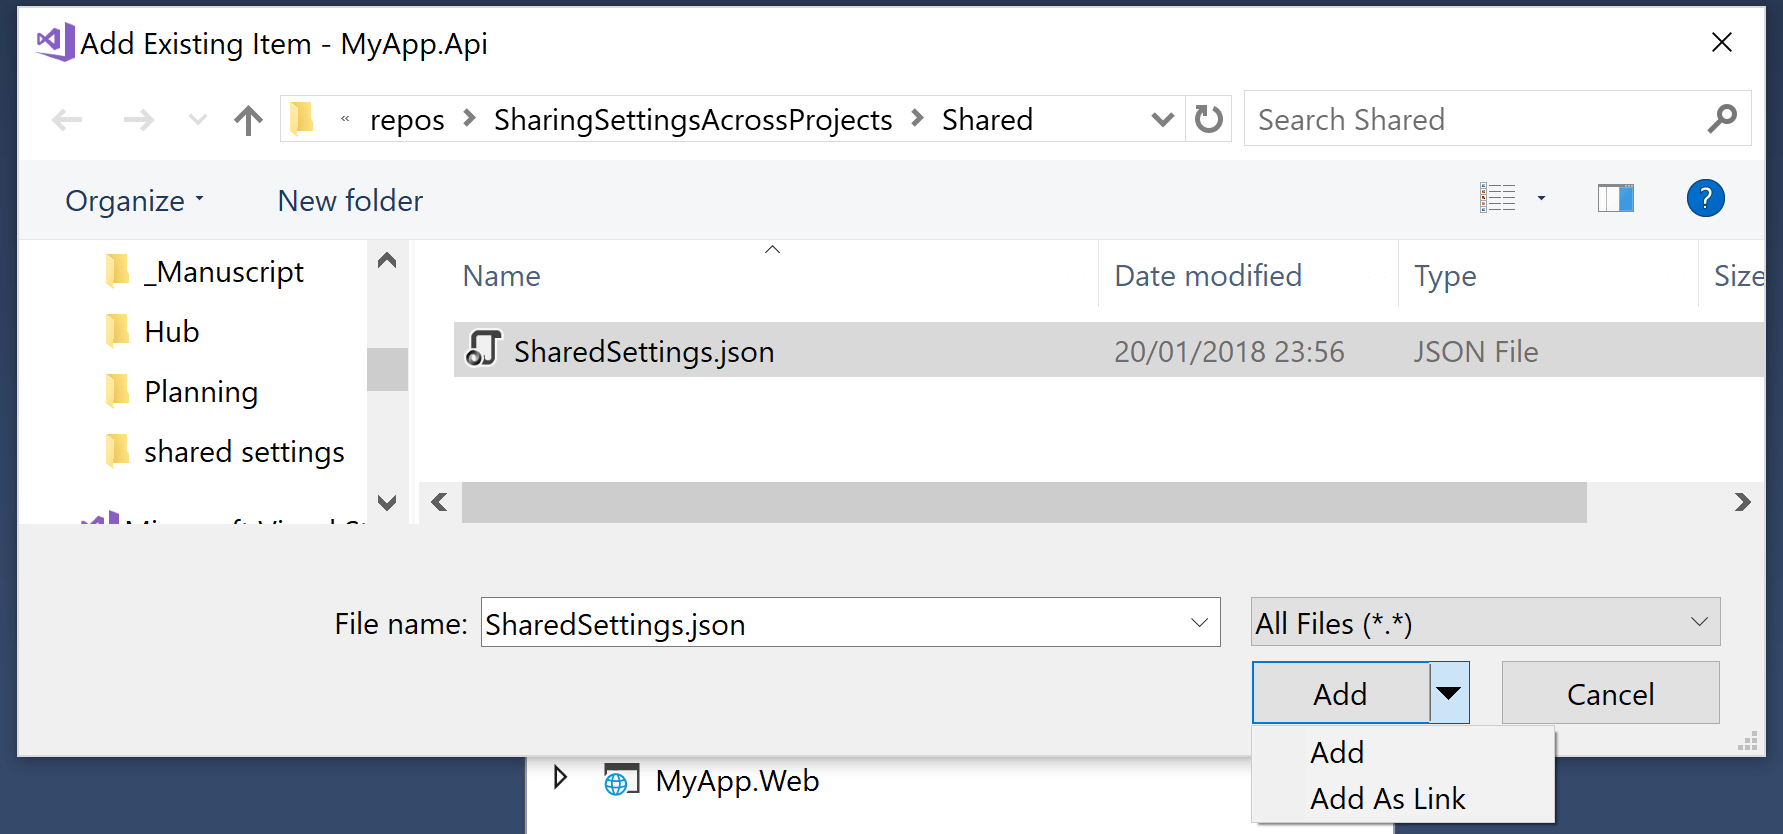
You're then presented with a file picker dialog, so you can navigate to the file, and choose Add. Visual Studio will spot that the file is outside the project directory and will copy it in.
Sometimes this is the behaviour you want, but often you want the original file to remain where it is and for the project to just point to it, not to create a copy.
Adding files from outside the project by linking
To add a file as a link, right click and choose Add > Existing Item… as before, but this time, don't click the Add button. Instead, click the little dropdown arrow next to the Add button and select Add as Link.
Instead of copying the file into the project directory, Visual Studio will create a link to the original. That way, if you modify the original file you'll immediately see the changes in your project.
Visual Studio shows linked items with a slightly different icon, as you can see below where SharedSettings.json is a linked file and appsettings.json is a normally added file:
![]()
Directly editing the csproj file
As you'd expect for ASP.NET Core projects, you don't need Visual Studio to get this behaviour. You can always directly edit the .csproj file yourself and add the necessary items by hand.
The exact code required depends on the type of file you're trying to link and the type of MSBuild action required. For example, if you want to include a .cs file, you would use the <compile> element, nested in an <ItemGroup>:
<ItemGroup>
  <Compile Include="..\OtherFolder\MySharedClass.cs" Link="MySharedClass.cs" />
</ItemGroup>
Include gives the relative path to the file from the project folder, and the Link property tells MSBuild to add the file as a link, plus the name that should be used for it. If you change this file name, it will also change the filename as it's displayed in Visual Studio's Solution Explorer.
For content files like JSON configuration files, you would use the <content> element, for example:
<ItemGroup>
  <Content Include="..\Shared\SharedSettings.json" Link="SharedSettings.json" CopyToOutputDirectory="PreserveNewest" />
</ItemGroup>
In this example, I also set the CopyToOutputDirectory to PreserveNewest, so that the file will be copied to the output directory when the project is built or published.
Summary
Using linked files can be handy when you want to share code or resources between multiple projects. Just be sure that the files are checked in to source control along with your project, otherwise you might get build errors when loading your projects!