I was recently chatting to Dan Clarke for the Unhandled Exception podcast, and the topic of testing gRPC endpoints came up. Dan wondered if there was an equivalent of Postman for gRPC, and it turns out that Postman itself supports gRPC!
However, when Dan tweeted about this finding, Laurent Kempé pointed out that this is also possible on Rider. As Rider is my daily-driver IDE, I was interested, but couldn't see immediately how to get started. In this post, I show how you can add the gRPC integration to Rider, and what that gives you!
As a sneak peak, here's Kahlid Abuhakmeh showing it off! We'll dig into this in more detail in the remainder of the post.
Here’s a quick example. It even gives you a quick way to generate a request from the gutter. pic.twitter.com/5QuaSUZs90
— Khalid (@buhakmeh) April 26, 2022
I'm not going to go into detail about how gRPC works, if you'd like an introductory blog post, there's a good one from Khalid here.
Getting started: create a gRPC sample app
The first thing you'll need to test out gRPC in Rider is a gRPC app! I used this sample application from my work on the Datadog APM tracer, but you can easily create a new ASP.NET Core gRPC application using dotnet new grpc or using the Visual Studio templates.
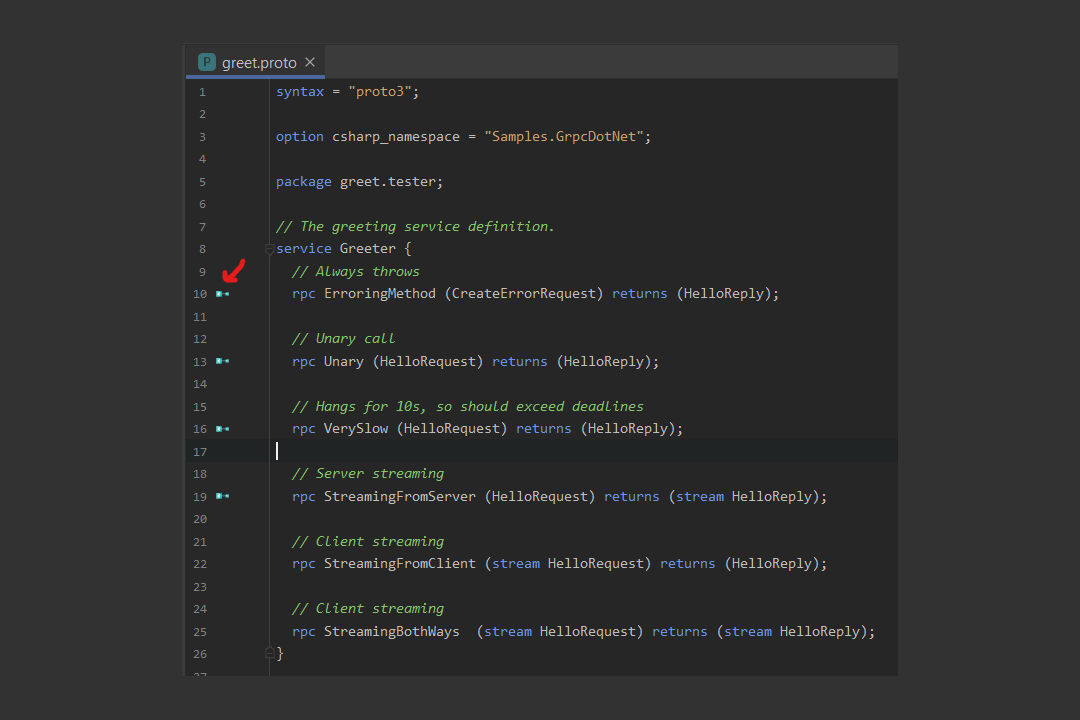
My sample app contains a .proto file, which defines the gRPC protocol buffers interface for the service. This file is shown below for completion sake, but any .proto file will do.
syntax = "proto3";

option csharp_namespace = "Samples.GrpcDotNet";

package greet.tester;

// The greeting service definition.
service Greeter {
  // Always throws
  rpc ErroringMethod (CreateErrorRequest) returns (HelloReply);

  // Unary call
  rpc Unary (HelloRequest) returns (HelloReply);

  // Hangs for 10s, so should exceed deadlines
  rpc VerySlow (HelloRequest) returns (HelloReply);

  // Server streaming
  rpc StreamingFromServer (HelloRequest) returns (stream HelloReply);

  // Client streaming
  rpc StreamingFromClient (stream HelloRequest) returns (HelloReply);

  // Client streaming
  rpc StreamingBothWays  (stream HelloRequest) returns (stream HelloReply);
}

message HelloRequest {
  string name = 1;
}

message HelloReply {
  string message = 1;
}

message CreateErrorRequest {
  int32 errorType = 1;
}
Now you have a project, lets open it in Rider.
Installing the plugins
When you open the project in Rider, you won't initially get any gRPC prompts. If you open the .proto file, you'll see that the file doesn't have any syntax highlighting. However you should also get a prompt to install "Plugins supporting *.proto files":

If you click Install Plugins then it will suggest you install the Protocol Buffers plugin.
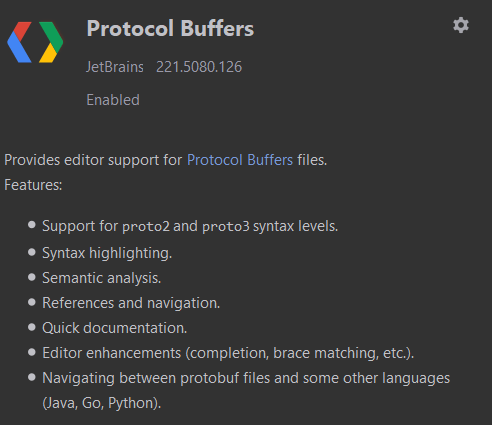
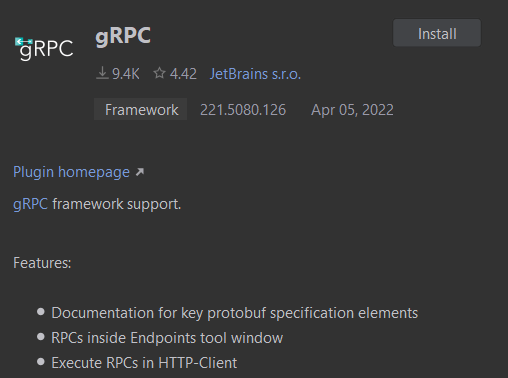
If you do this, you'll get syntax highlighting for the .proto file, but you won't get the full gRPC experience. Instead, we'll install a different plugin, cunningly called "gRPC".
Head to the plugins settings by navigating to File > Settings > Plugins > Marketplace and search for gRPC. Alternatively, use the ctrl+t shortcut and search for Plugins to be taken there directly. Install the gRPC plugin from the marketplace.
With this installed, restart Rider and we'll look at what it gives you.
Using Rider's built-in client to send requests
After restarting your IDE, open up your .proto file, and you should see that it now has syntax highlighting, but that there are also some new symbols in the gutter, next to your endpoints:
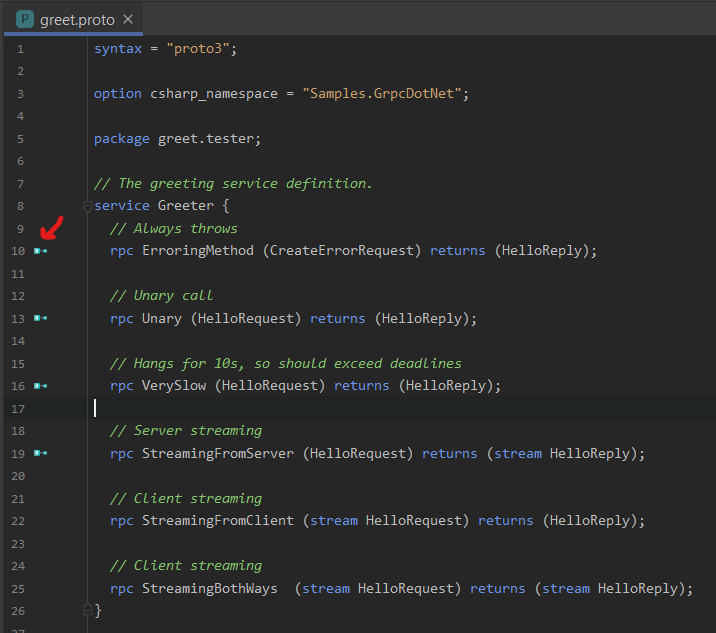
If you click one of these symbols, Rider creates an .http file for you, and starts populating it with the gRPC endpoint. These .http files can be used by Rider's built-in HTTP client to send test requests to your application. Think of it as a built-in Postman!
When Rider creates the endpoint in the .http file, it prompts you to enter the host.
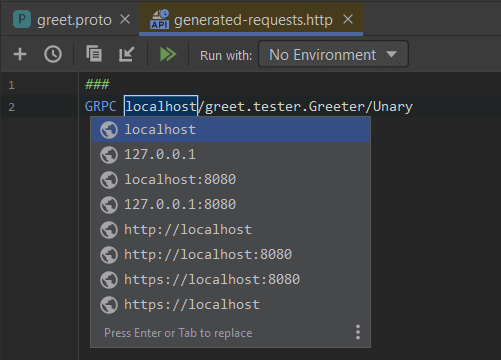
It defaults to some common options, but you'll need to modify this to whatever your local application uses. Start your app (we need it to be running to send requests to anyway!), and check which ports it says:
Hosting environment: Development
Content root path: C:\repos\Samples.GrpcDotNet
Now listening on: http://localhost:5002
Now listening on: https://localhost:7002
Application started. Press Ctrl+C to shut down.
So in my case I'm going to use port 5002. Note that you don't have to specify the scheme (http/https) in your gRPC .http files. Once you've updated the hostname, you can send a request! Click the green play symbol in the gutter, and Rider will send a gRPC request to your application
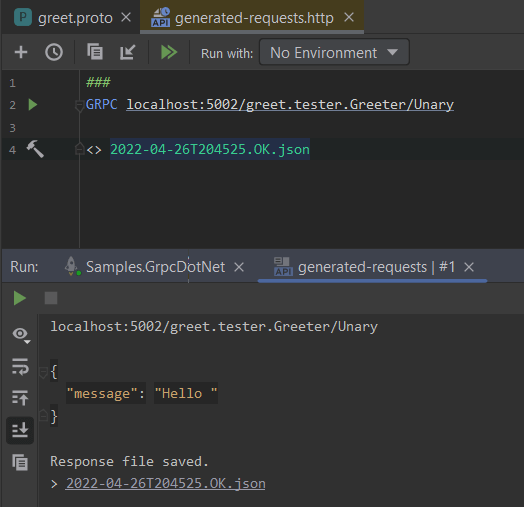
The result is very slick—Rider records the response under the "Run" window, but it also records the response in a file right under the request. You can navigate to the file by ctrl+click on the link, or by hitting F12, and it shows the deserialized response:
{
  "message": "Hello "
}
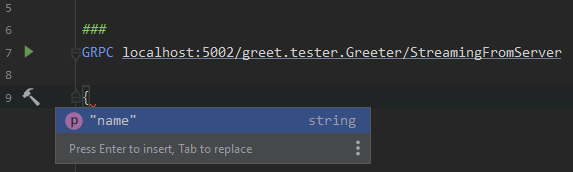
It's also worth noting that you can include a body in your requests, and what's more, you get IntelliSense completion too:
The only requests I couldn't send were client-streaming requests, i.e. where I would need to stream multiple values. For example, see the
/StreamingFromClientendpoint in the image at the start of this section. I can see why that's not supported, but it would be kinda nice to be able to provide multiple values that are all streamed. A feature request perhaps!
The generated-requests.http file created by Rider is stored as a "scratch" file by default. These are just temporary files that are shared across all solutions, but you could also include project-specific .http files in your repository if that makes sense!
The Endpoints window
If you have a lot of proto files in your project, then you might find it useful to take a look at the "Endpoints" tool window. This lists all the endpoints Rider knows about in your application. This includes ASP.NET Core APIs, OpenAPI specs, and gRPC endpoints (when you have the plugin installed).
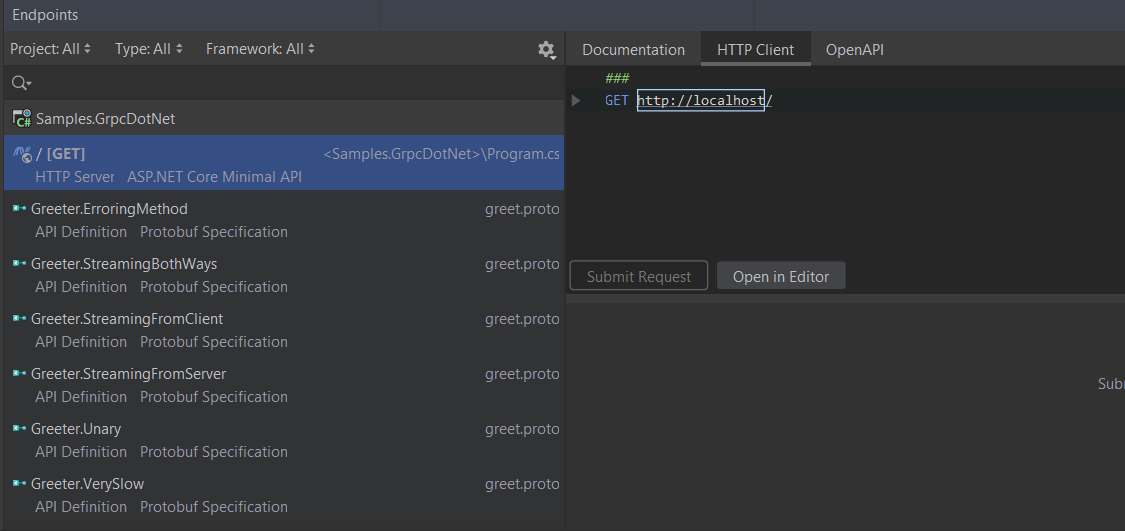
You can double-click or hit F12 on any of these endpoints and Rider will take you to its location in the .proto file, from where you can then generate a request. Unfortunately, the gRPC endpoints aren't supported in the inline "HTTP Client" window shown in the above image, so you can't send your test requests from there directly, you'll need to use the approach described in the previous section by creating a request from the gutter symbol in the .proto file. Another feature request then! 😃
Summary
In this post I showed how you can add improved gRPC support to JetBrains' Rider by installing the gRPC plugin. This enables syntax highlighting, endpoint discovery, and enables sending test requests using the built-in HTTP Client. The HTTP Client works very smoothly, saving requests for you to review later, and provides IntelliSense when crafting the request body. I'll definitely be using it when I need to test a gRPC service!