In my last post I showed how to get started building a GitHub bot using Probot and create-probot-app. In this post we'll take a look at some code; we'll explore the generated template, and then update the bot to provide the functionality described in part 1. At the end of this post we'll have a GitHub app that's able to assign newly created issues to the owner of the repository in which the code is running. We'll also allow you to configure the bot to assign the issues to users other than the owner, or to disable the bot entirely for a repository.
Where we're up to - a quick recap
In my last post I described how to create your first demo GitHub app using the Probot framework and the create-probot-app tool. If that's new to you, I suggest going back and working your way through it.
For this post I'll assume you've created a new app (called auto-assign-issues) and are running it locally using npm run dev. If you follow the prompts provided, you'll have a real live GitHub app that is being proxied to your local running instance. You can install the app on a test repository and try out the functionality in real time!
As a side note, this was one of the most impressive parts of the Probot experience for me. Aside for the initial templating issues I described in the previous post, the ability to hook into GitHub "live" without any manual configuration on my part makes the getting-started process incredibly smooth.
Now we're all up to speed, I'll start by taking a look at the default template you get with create-probot-app.
Looking at the default template
All of the functionality for the default app is found in the file src/index.ts (I used the TypeScript template with create-probot-app). If you open this file, you'll find the following:
import { Application } from 'probot' // eslint-disable-line no-unused-vars

export = (app: Application) => {
  app.on('issues.opened', async (context) => {
    const issueComment = context.issue({ body: 'Thanks for opening this issue!' })
    await context.github.issues.createComment(issueComment)
  })
  // For more information on building apps:
  // https://probot.github.io/docs/

  // To get your app running against GitHub, see:
  // https://probot.github.io/docs/development/
}
Personally, I was surprised and impressed - that's a tiny amount of code required to create a bot! All that is required by you is to define the type of WebHook you're interested in ( "issues.opened" in this case), and a function to run when the hook is raised. The imported probot library does all the hard work for you of registering for the WebHook, validating the parameters GitHub provides, and exposing the WebHook payload to your app.
The Probot documentation contains details about how to handle multiple WebHooks, or multiple "actions" associated with an event type.
The context parameter provided in the method signature includes the payload sent by GitHub, and is used to interact with the GitHub API. It includes a number of helper methods for preparing requests, as well as methods to send them with little ceremony:
async (context) => {
  const issueComment = context.issue({ body: 'Thanks for opening this issue!' })
  await context.github.issues.createComment(issueComment)
}
The context.issue() helper is used for preparing requests related to issues. The object you pass in is merged with values extracted from the WebHook. For example, if the bot runs in response to a new issue (number 23) raised on the repo andrewlock/test-deploy, then issueComment above would look something like this:
{
  "owner": "andrewlock",
  "repo": "test-deploy",
  "number": 23,
  "body": "Thanks for opening this issue!"
}
The context.github property is an instance of the @octokit/rest Node.js module for interacting with the GitHub API. You can use this to make all sorts of requests, as in the default template where a comment is added to new issues using the createComment() method.
That's pretty much all there is to the default template. There's an integration test for testing your app using the nock mocking library and jest, but I won't go into that in this post.
Instead, lets look at how to customise the default template to build the auto-assign-issues bot.
Creating the auto-assign-issues bot
The reason I built this bot was because I wanted every issue created on one of my repositories to be assigned to me. On that basis, I replaced the contents of src/index.ts with the following:
import { Application } from 'probot' // eslint-disable-line no-unused-vars

export = (app: Application) => {
  app.on('issues.opened', async (context) => {

    // create an empty params object as an easy way to get the owner
    const tempParams = context.issue()
    const owner = tempParams.owner

    //build the request, and send it to GitHub
    const addAssigneeParams = context.issue({ assignees: [owner] })
    await context.github.issues.addAssignees(addAssigneeParams);
  })
}
The (possibly) slightly hacky aspect of this code is the way I'm getting the owner of the repository. Instead of diving in to the context.payload to find the owner of the repository on which the issue was created, I'm using the context.issue() helper method to extract it for me:
const tempParams = context.issue()
const owner = tempParams.owner
I then call context.issue() again to actually build the real request, and provide the assignees array required by the addAssignees method:
const addAssigneeParams = context.issue({ assignees: [owner] })
Finally, I use the github property to make the API call and add the owner of the repository to the issue's assignees.
await context.github.issues.addAssignees(addAssigneeParams);
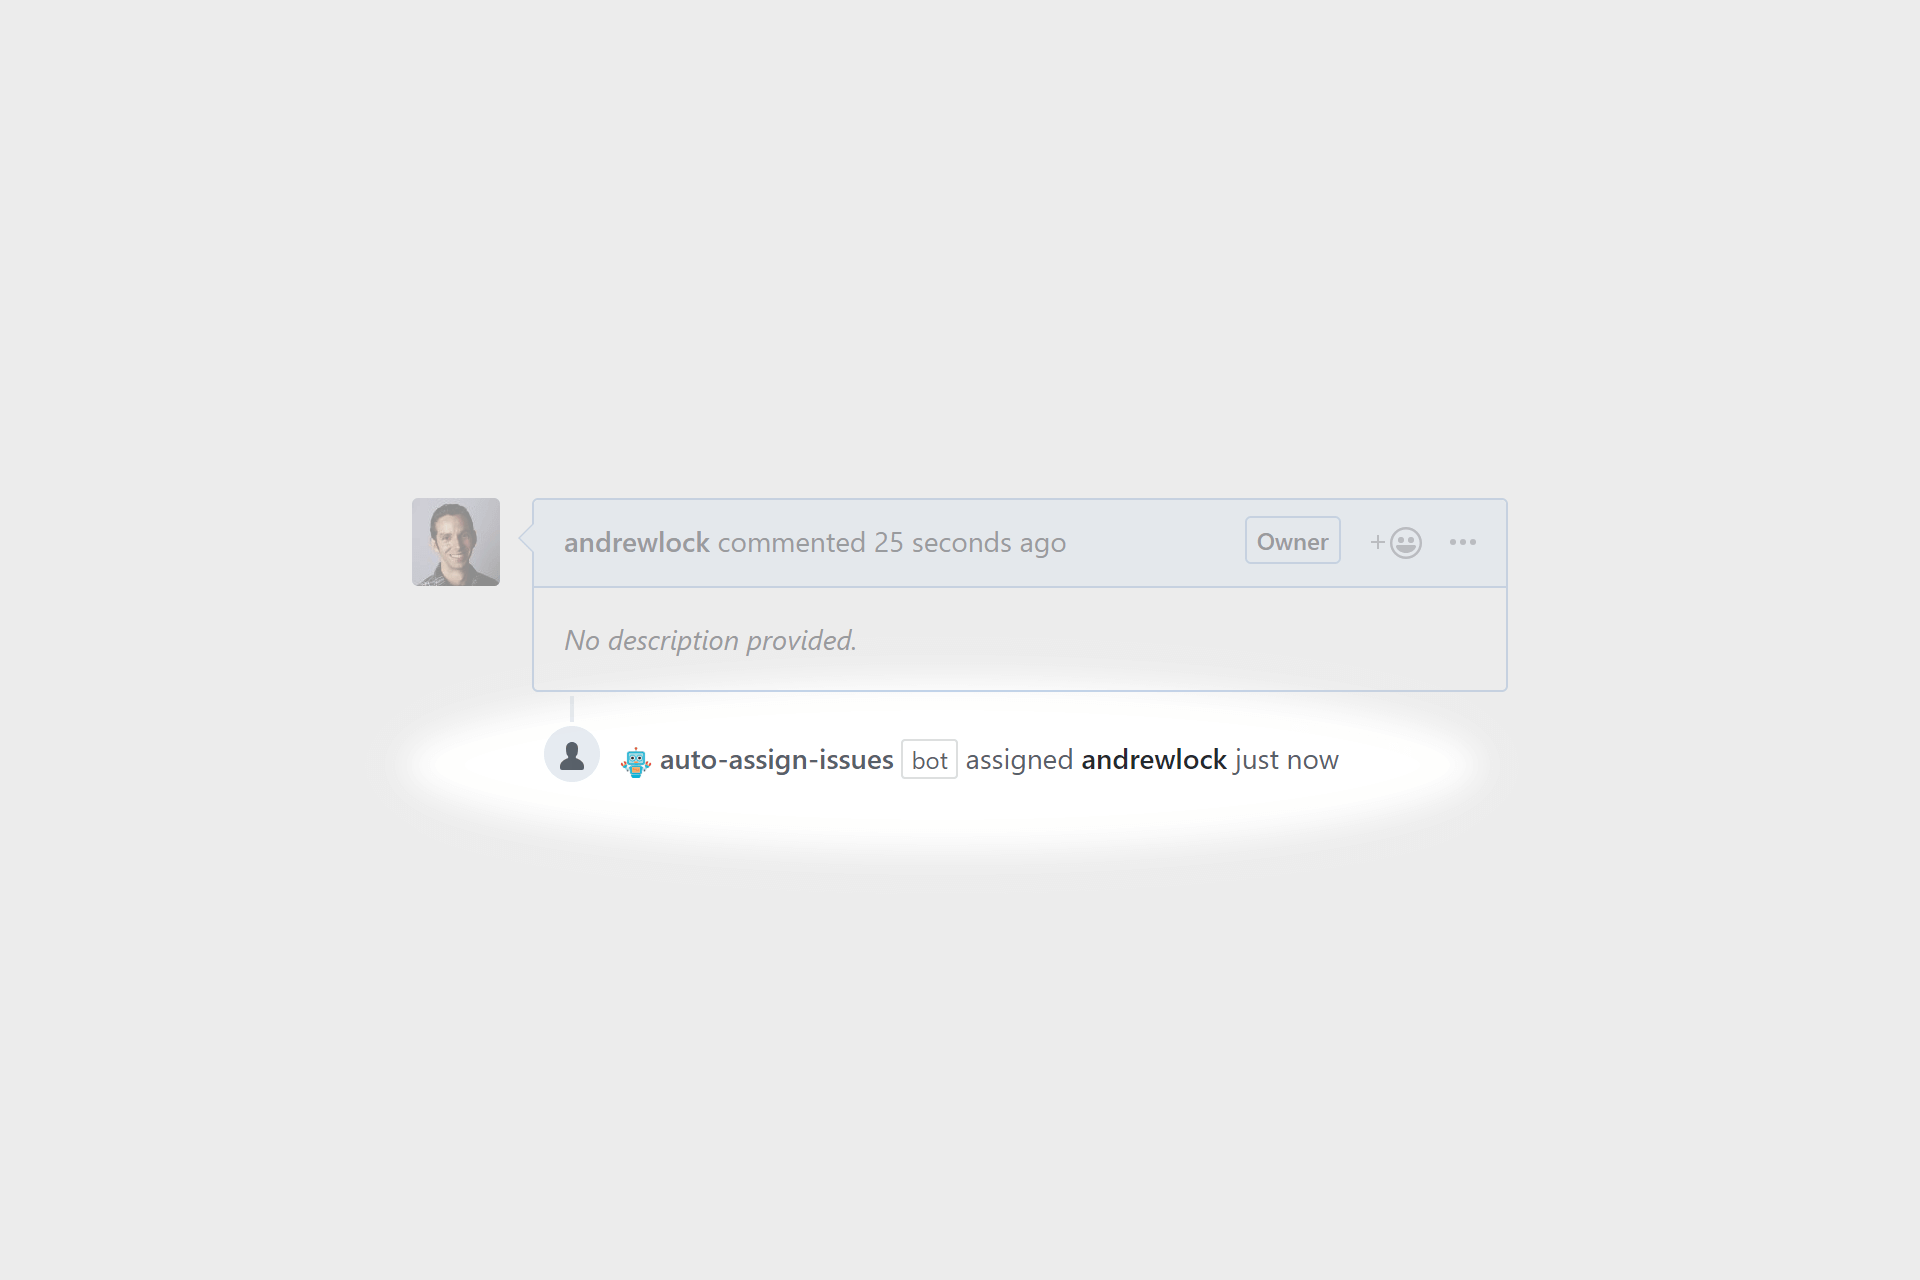
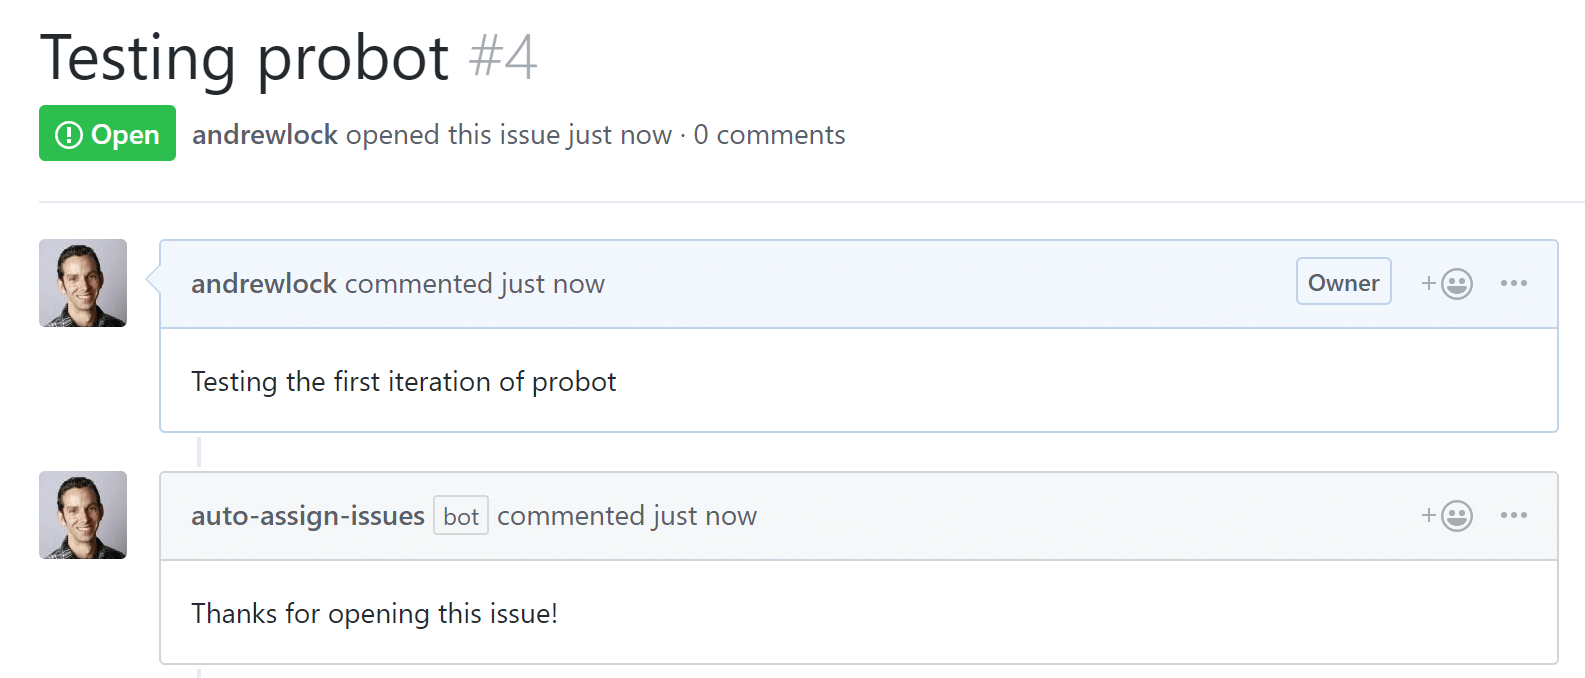
As before, we can test out this code by running the app locally with npm run dev, and creating a new issue on the test repo that has the app installed.
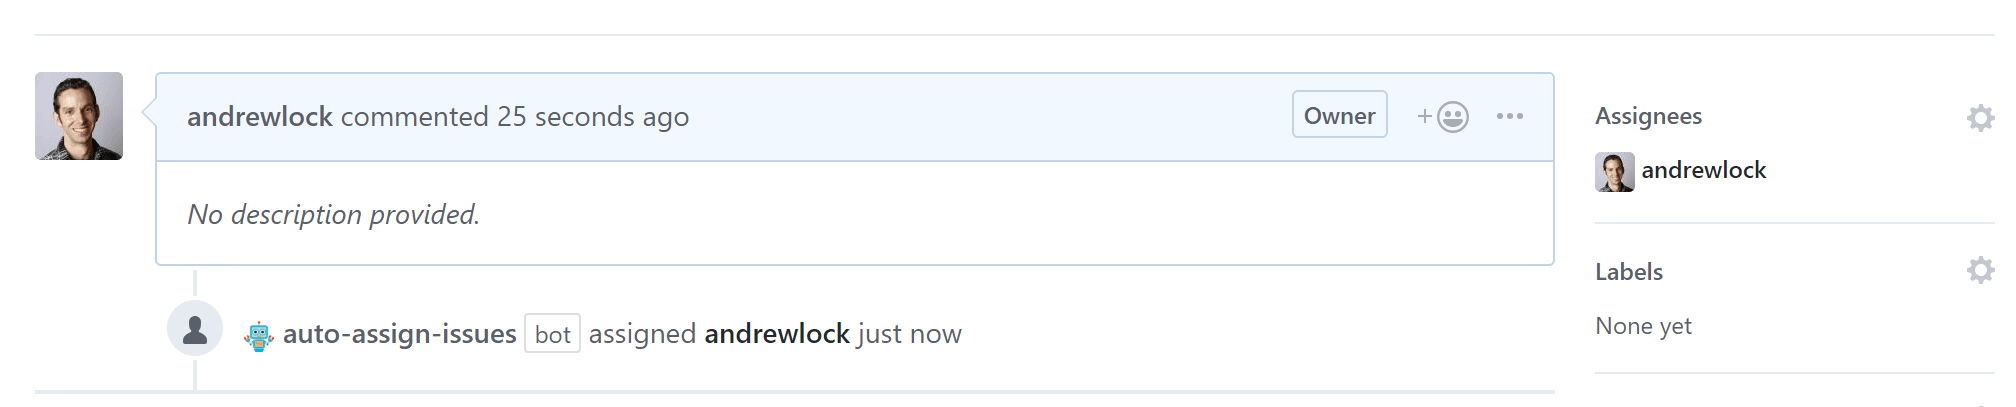
As you can see, this seems to work! Obviously we don't have testing, error management, or logging, but it gets the job done for now…
Before we call it a day, there's one problem. What if someone else wants to use the app in a repository owned by an organisation rather than an individual user? In that case, my naïve approach of assigning to the owner won't work.
Adding configuration to the bot
GitHub apps allow you to use per-repository configuration for an app. Users can create a YAML files inside the .github folder in their repository, and apps can read these files when a WebHook is received to configure their behaviour.
I decided to allow users to control the behaviour of the app with a very simple YAML file that has just two properties. For example:
# If enabled, auto-assigns users when a new issue is created. Defaults to true
addAssignees: true

# If enabled, the list of users to assign to new issues.
# If empty or not provided, the repository owner is assigned
assignees:
  - user1
  - user2
The first property addAssignees allows you to disable the app for a specific repository. That means you can install it account wide using the "Install in all repositories" option, and then disable it for specific repositories.
The second property assignees provides a list of all the users that should be assigned to new issues. If this property is omitted or left empty then the app uses the previous behaviour, and assigns the issue to the repository owner.
So how can we make use of this config file? The following code shows the updated app; I'll walk through each new section afterwards:
import { Application } from 'probot' // eslint-disable-line no-unused-vars

const ConfigFilename = 'auto-assign-issues.yml'

interface AppConfig {
  addAssignees: boolean;
  assignees?: string[];
}

const DefaultConfig: AppConfig = { addAssignees: true };

export = (app: Application) => {
  app.on('issues.opened', async (context) => {

    const config: AppConfig = await context.config<AppConfig>(ConfigFilename, { addAssignees: true })

    if(!config.addAssignees){
      return;
    }

    // create an empty params object as an easy way to get the owner
    const tempParams = context.issue()
    const owner = tempParams.owner

    const assignees = chooseAssignees(owner, config.assignees || [])

    const addAssigneeParams = context.issue({ assignees: assignees })
    await context.github.issues.addAssignees(addAssigneeParams)
  })
}

function chooseAssignees(owner: string, available: string[]): string[] {
  // if no config, then assume we're assigning the owner
  if (available.length === 0) {
    return [owner]
  }

  // get the unique set of names
  return available.reduce<string[]>((values, current) => {
    if (values.indexOf(current)) {
      values.push(current)
    }
    return values
  }, [])
}
The first thing I define is a constant for the configuration filename. This is the name of the file users must create inside the .github folder in their repository to control the app.
const ConfigFilename = 'auto-assign-issues.yml'
Next I create an interface for the configuration after it's been converted from YAML to JavaScript.
interface AppConfig {
  addAssignees: boolean;
  assignees?: string[];
}

const DefaultConfig: AppConfig = { addAssignees: true };
This isn't strictly necessary, but as we're using TypeScript, we may as well try and create the any to a minimum. I also define a default instance of AppConfig that will be used when the user doesn't provide a YAML file.
Now we move into the callback function itself, and attempt to load the configuration from the user's repository.
const config: AppConfig = await context.config(ConfigFilename, DefaultConfig)

if(!config.addAssignees){
  return;
}
This method attempts to read a YAML file from the user's repository (i.e. .github/auto-assign-issues.yml), and merge it with the DefaultConfig object. If the user has added the file to their repo, we now have those values in the config object.
If the user has disabled the app by setting addAssignees to false, we bail out and just return. If they haven't, then we reads the owner of the repository using the technique I described earlier, and call the chooseAssignees helper method:
function chooseAssignees(owner: string, available: string[]): string[] {
  // if no config, then assume we're assigning the owner
  if (available.length === 0) {
    return [owner]
  }

  // get the unique set of names
  return available.reduce<string[]>((values, current) => {
    if (values.indexOf(current)) {
      values.push(current)
    }
    return values
  }, [])
}
This method encapsulates the logic for choosing who should be assigned the issue. It takes in the owner of the repository and a (potentially empty) list of assignees. If the list is empty,then the issue should be assigned to the owner, and we return an array with a single value: [owner].
If the list of assignees is not empty, then we remove any duplicate values, and return the value back. I'm not 100% sure if this is necessary for the GitHub API, but if nothing else it gave me an exercise in using reduce<>()!🙂
All that's left after choosing the assignees is to send the request to the GitHub API as before:
const assignees = chooseAssignees(owner, config.assignees || [])

const addAssigneeParams = context.issue({ assignees: assignees })
await context.github.issues.addAssignees(addAssigneeParams)
And we're done! Again, it's a simplistic implementation without the logging and error handling I'd normally want to see, but it solved a problem and scratched an itch so I'm happy enough with it.
There's just one problem.
At this point, the code is only running locally on my machine, and WebHooks are being proxied via https://smee.io. That's fine for development, but I certainly don't want to keep the app running on my machine 24-7! Instead, we need to deploy it. In the next post in the series I'll show how you can deploy your app to Glitch. Alternatively, check out the Probot docs for potential deployment options. Of course, it's fundamentally just a node.js app, so you can run your app anywhere node.js runs, which is basically everywhere!
Summary
In this post I walked through the code in the default create-probot-app template to show how a Probot app works. I then described upgrading the app to achieve my required functionality: assigning all new issues on a repo to the repo owner. Finally I showed how you could add configuration to your app so the user can control the behaviour of the bot.
Resources
The Probot documentation is very good so I highly recommend reading them if you're new to GitHub apps. The code in the auto-assign-issues was strongly inspired by the auto-assign GitHub app that automatically adds reviewers and assignees to pull requests.